When it comes to painting, the vision of vibrant colors transforming a blank canvas isn’t reserved just for flat surfaces or small-scale projects. Imagine bringing that creativity and precision to larger structures, reaching impressive heights with ease and confidence. However, as any seasoned painter knows, scaling these lofty ambitions requires more than just an artistic touch—it demands safety and expertise, especially when painting with scaffolding.
While the result can be breathtaking, the journey there is fraught with potential hazards. Every year, countless artists and contractors face unnecessary risks due to inadequate preparation or a lack of proper equipment. It’s not just about having a steady hand; it’s about ensuring your tools and techniques are up to the task. In this guide, we’ll unravel the essential tips for mastering the art of painting with scaffolding safely, empowering you to elevate your projects without compromising on safety. So, whether you’re a DIY enthusiast or a professional painter, let’s embark on a journey to enhance your skills and ensure your masterpiece is achieved without a hitch.

Understanding the Basics of Scaffolding for Painting Projects
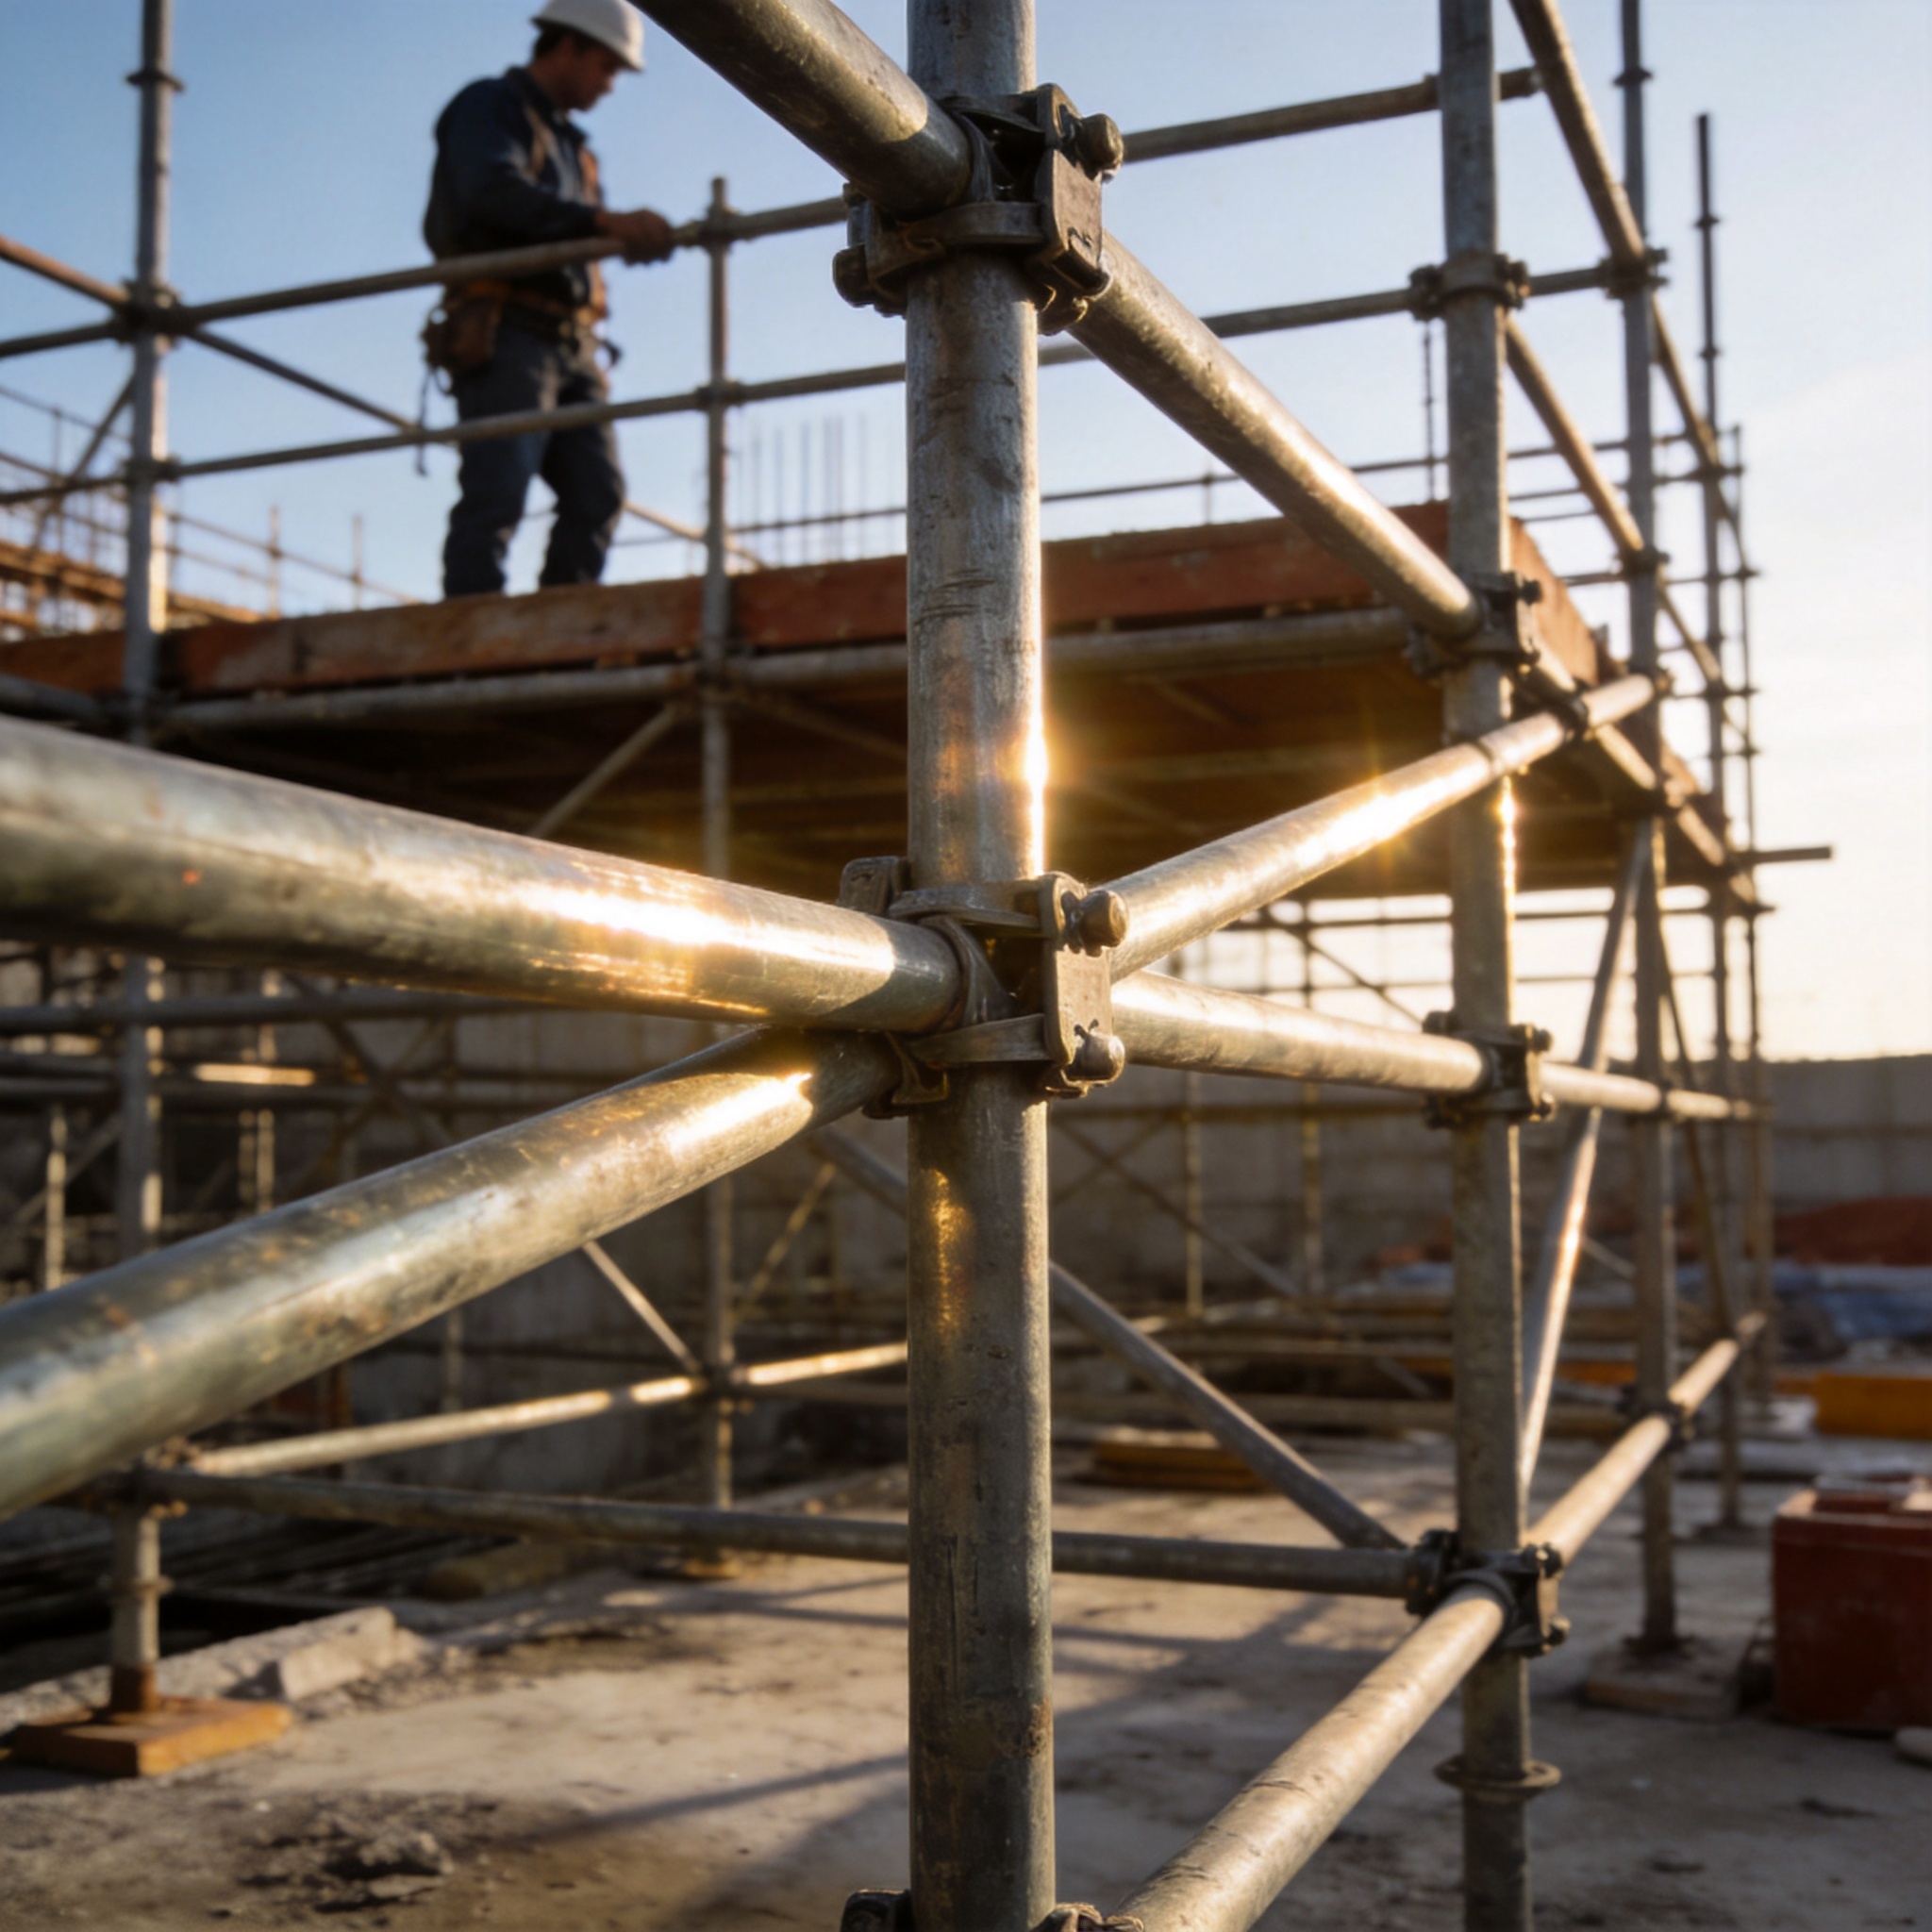
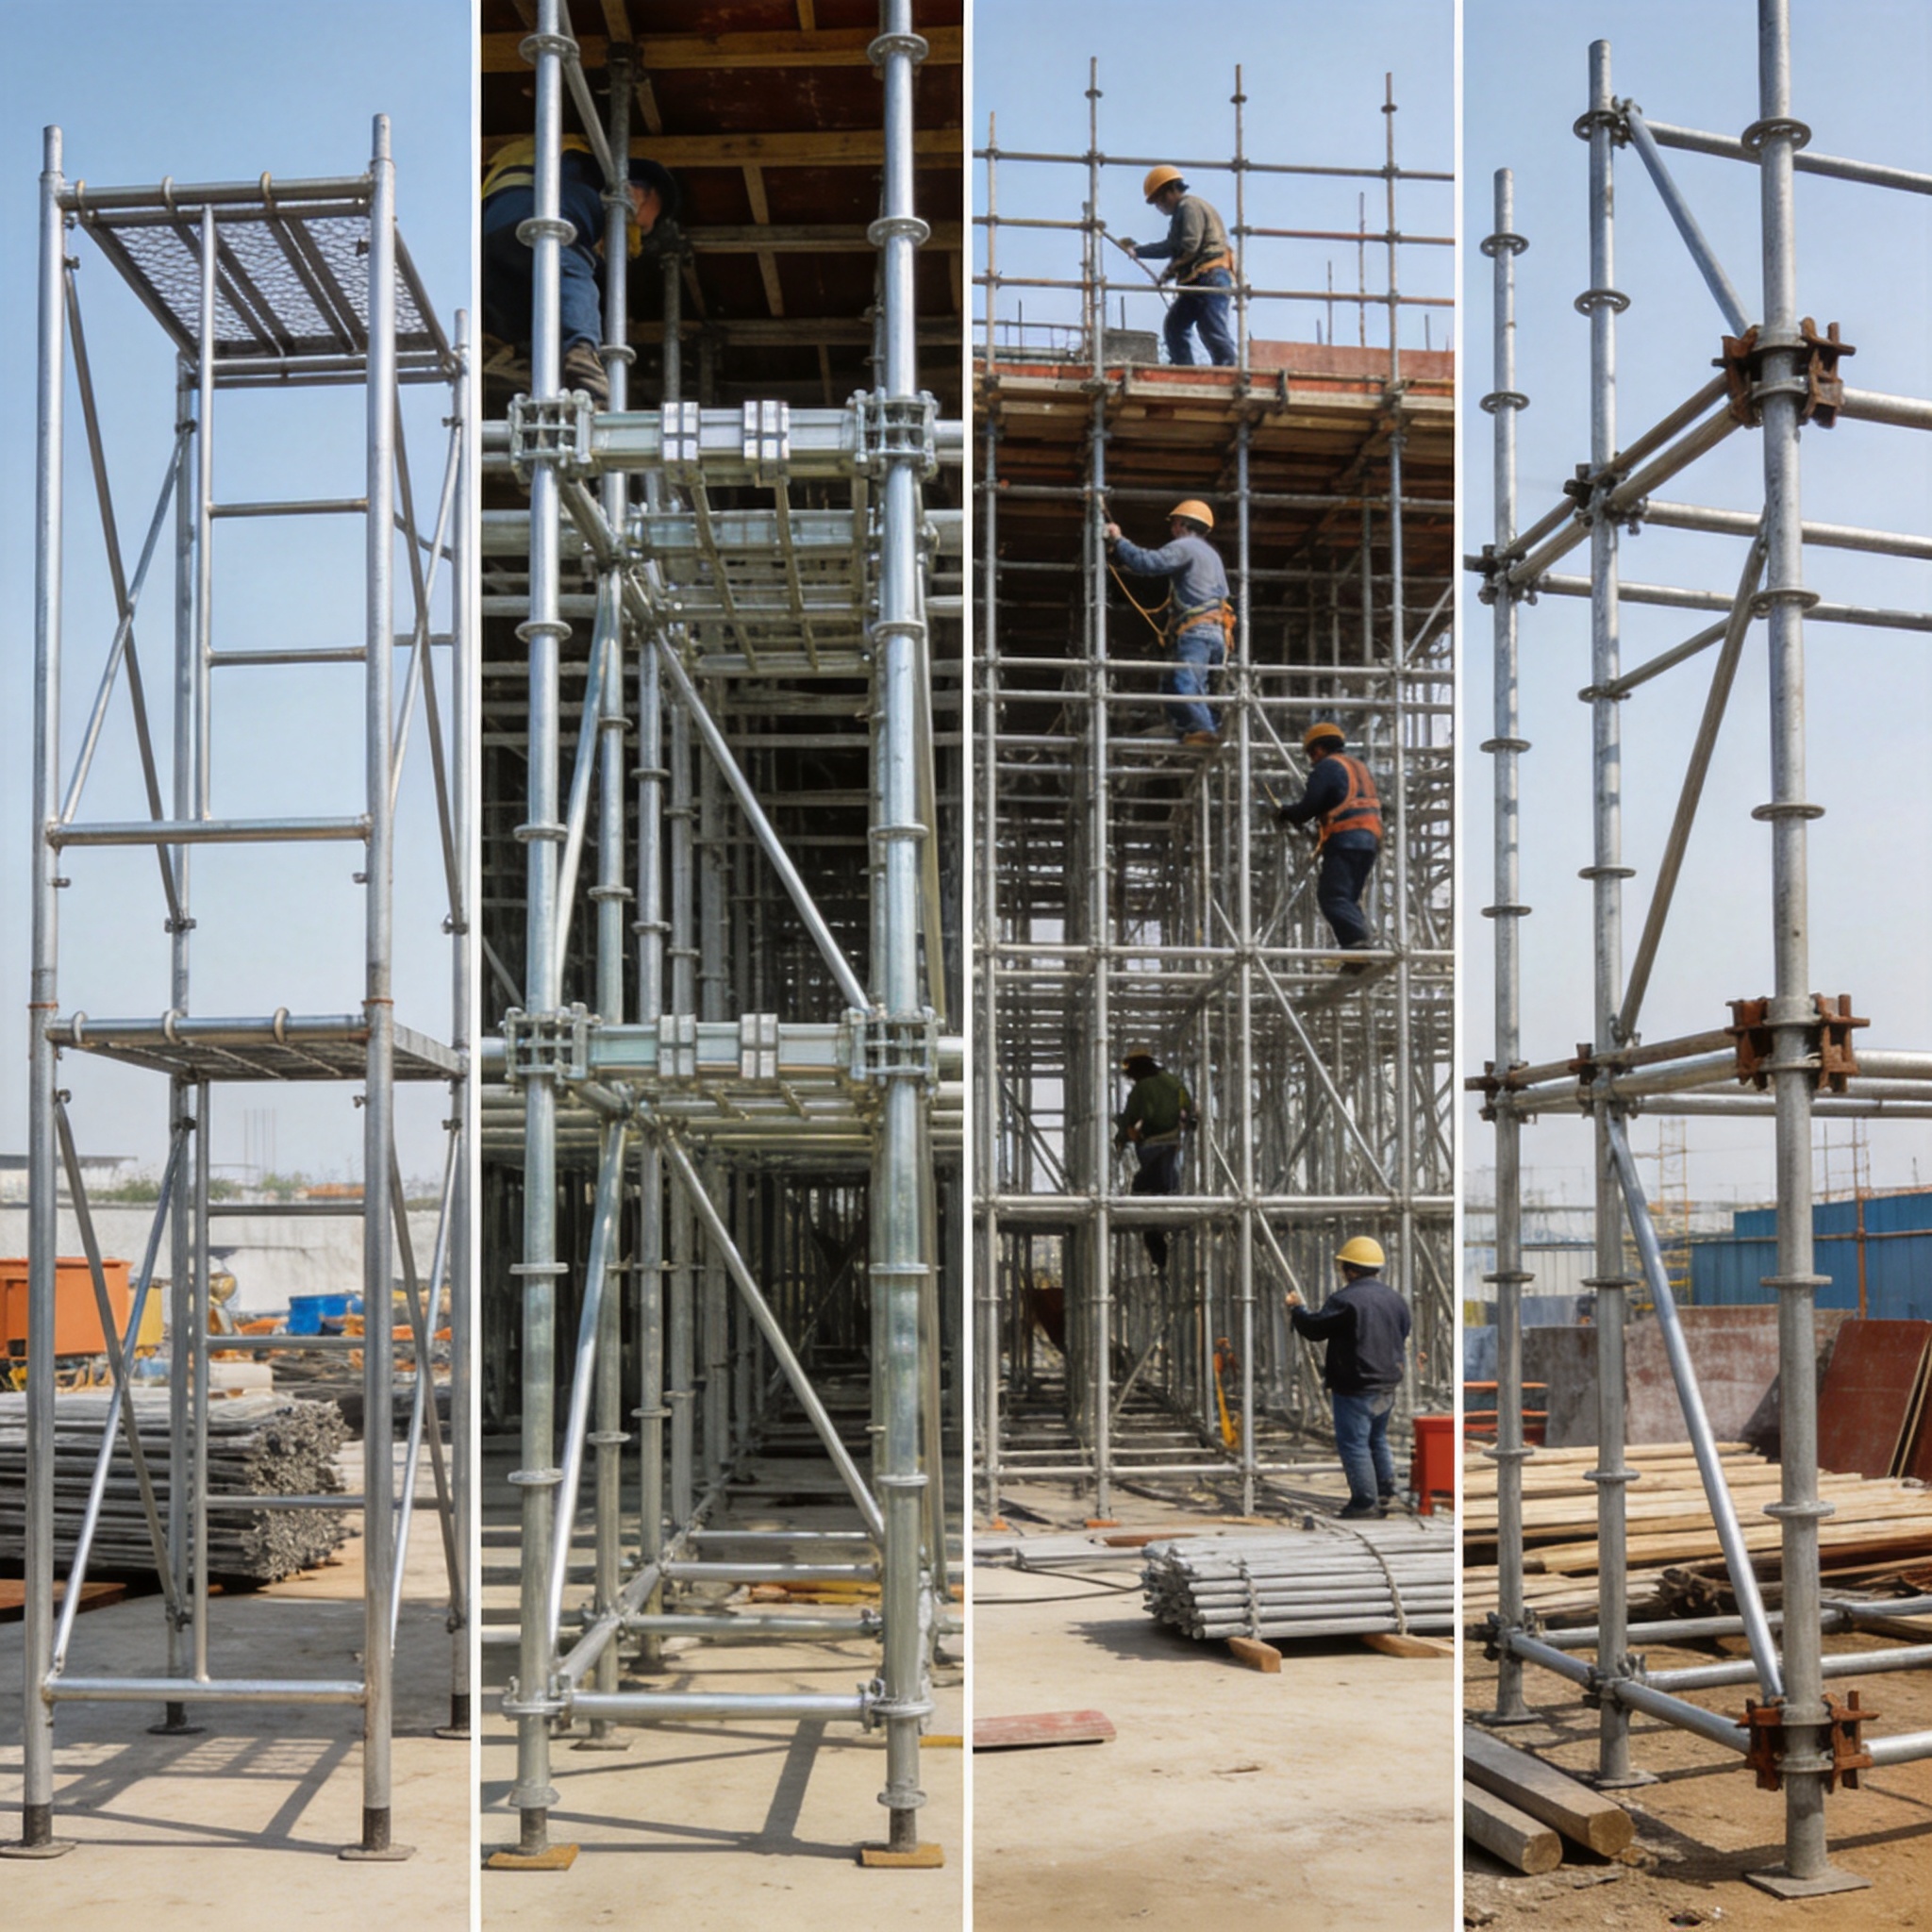
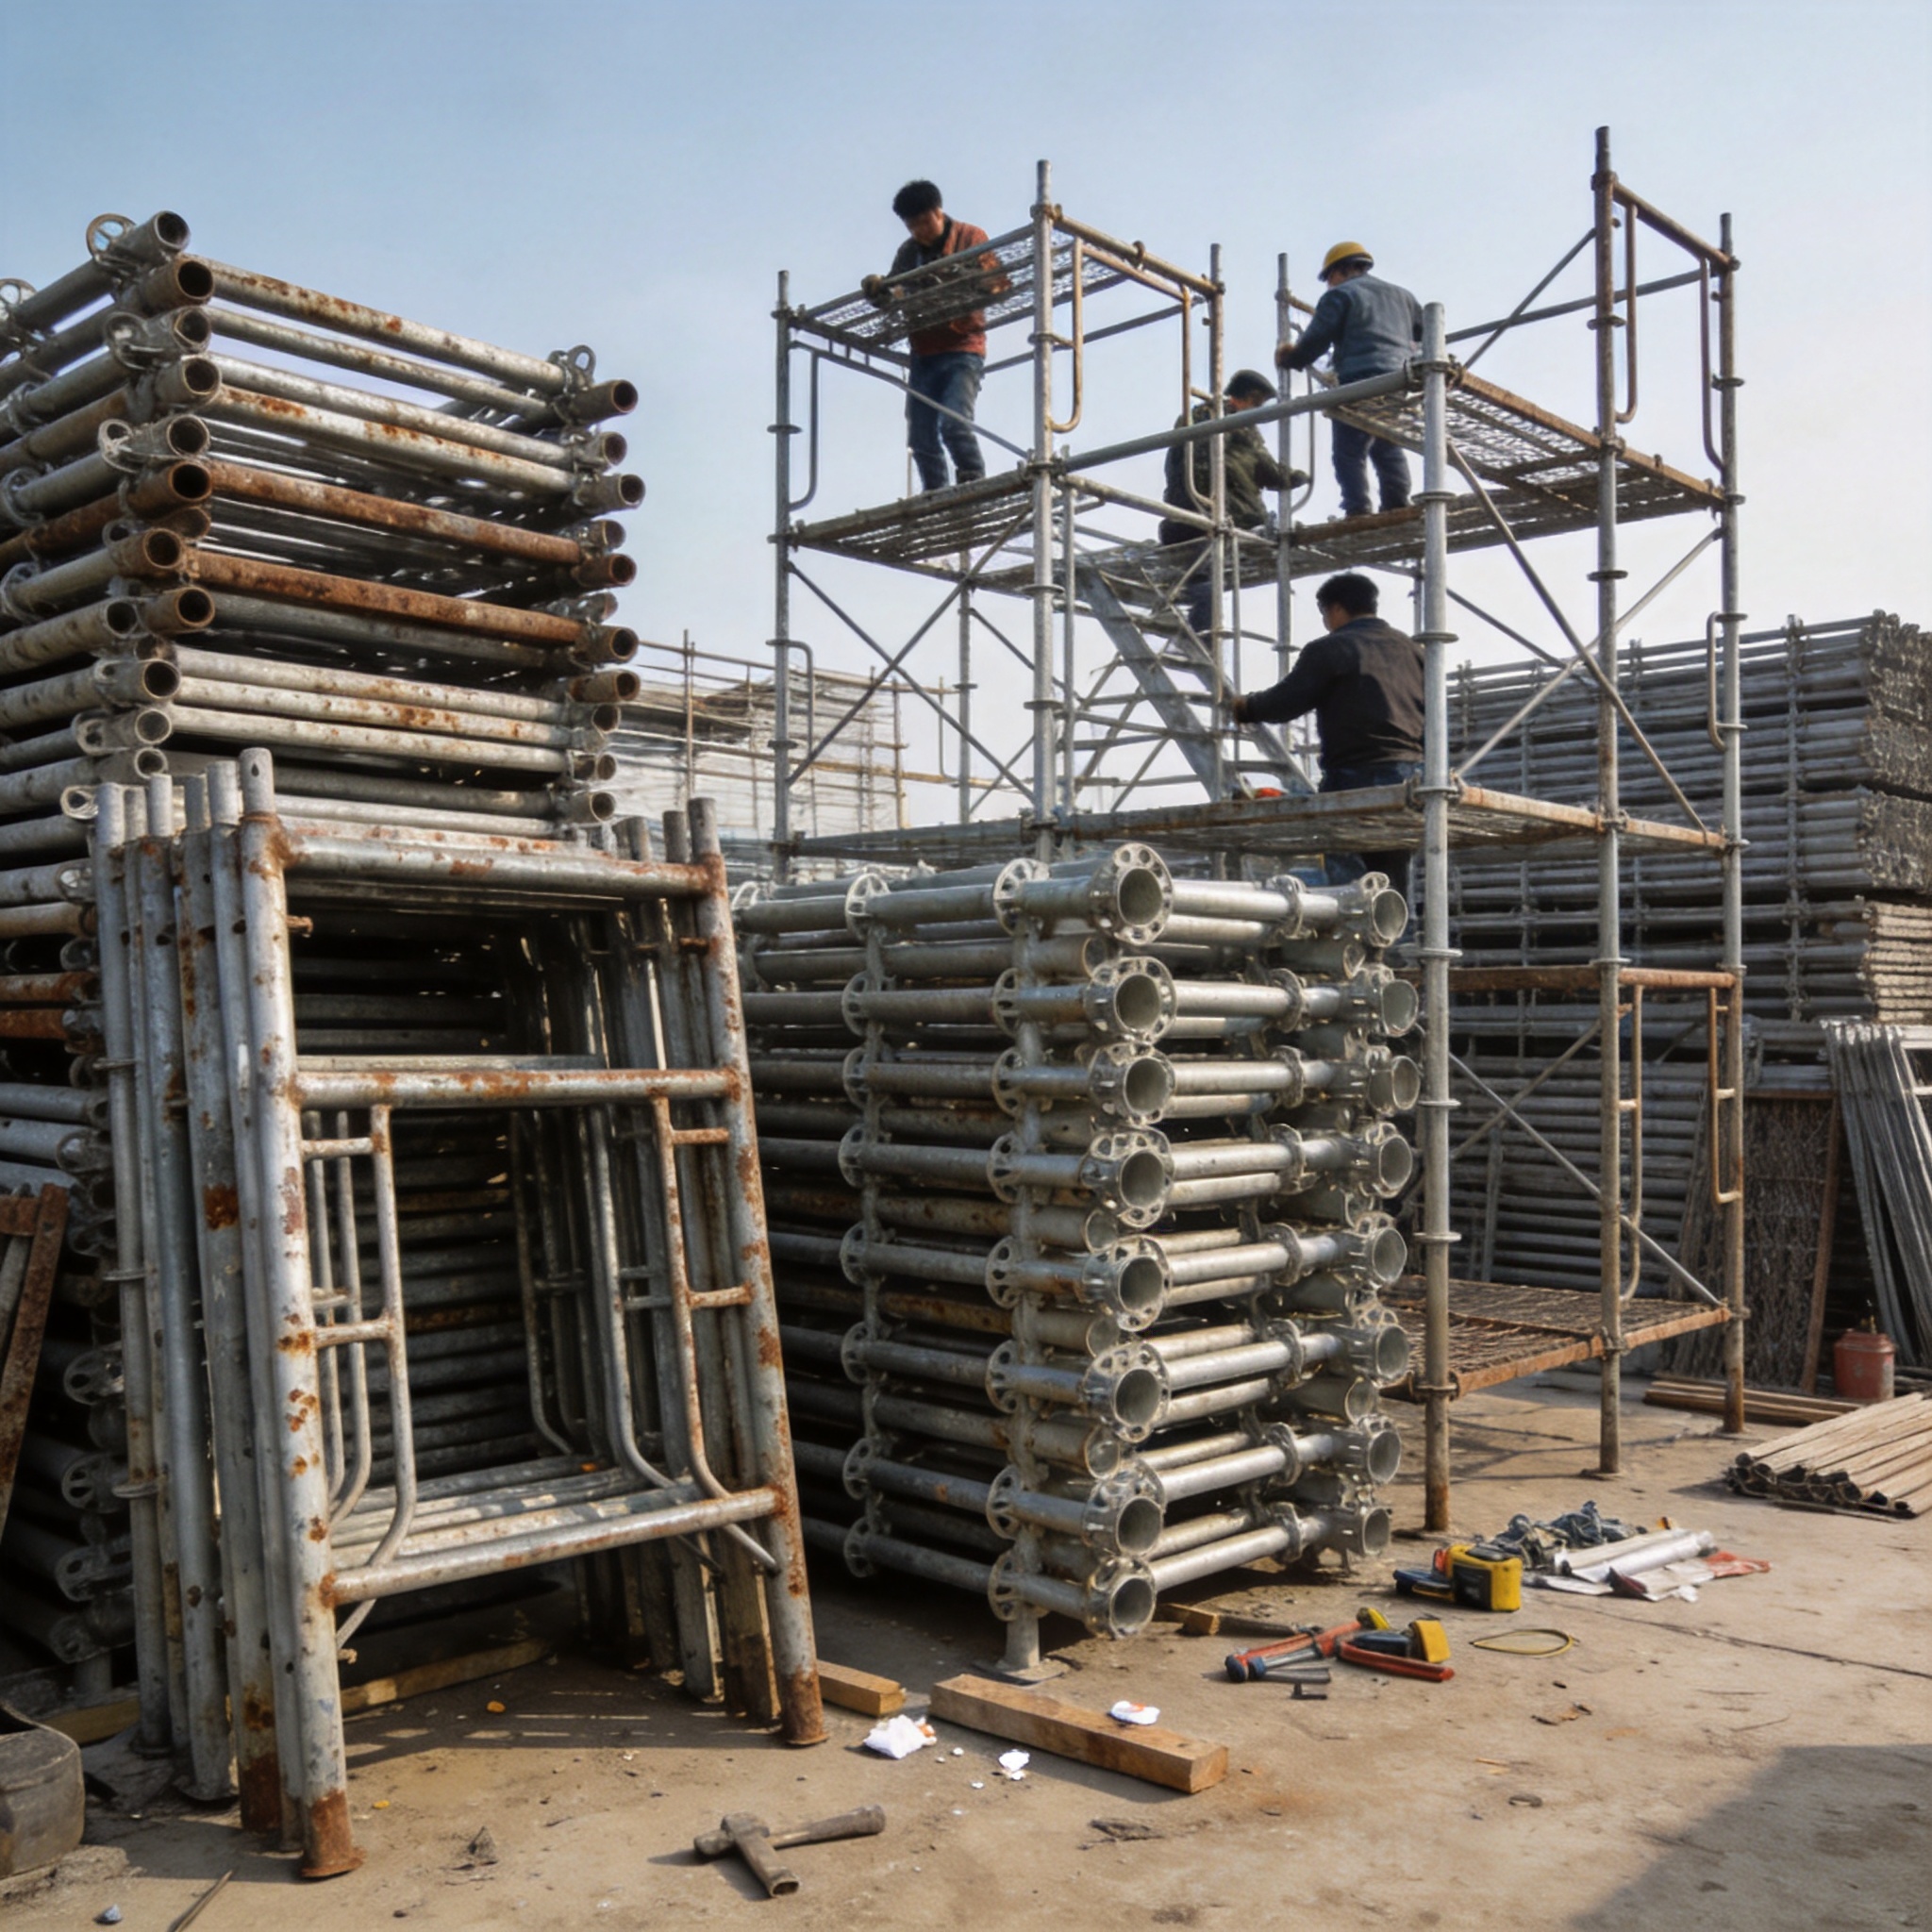
Scaffolding serves as the foundation for any large-scale painting endeavor, acting as both a workspace and a safety measure. At its core, scaffolding is a temporary structure designed to support painters, equipment, and materials at various heights. Choosing the correct type—whether frame, adjustable, or suspended—depends largely on the building’s height, surface, and accessibility. For instance, frame scaffolding is ideal for straightforward, ground-level facades, while suspended scaffolding offers flexibility for hard-to-reach overhangs.
Beyond selecting the right style, understanding weight capacity is crucial. Every scaffolding system has a maximum load rating, which includes the weight of painters, paint cans, rollers, brushes, and any additional tools. Overloading the platform can lead to dangerous instability. Always consult the manufacturer’s guidelines and distribute weight evenly across the decking. Additionally, familiarize yourself with components like base plates, planks, guardrails, and braces. Each plays a vital role in structural integrity, ensuring your setup remains sturdy throughout your painting project.
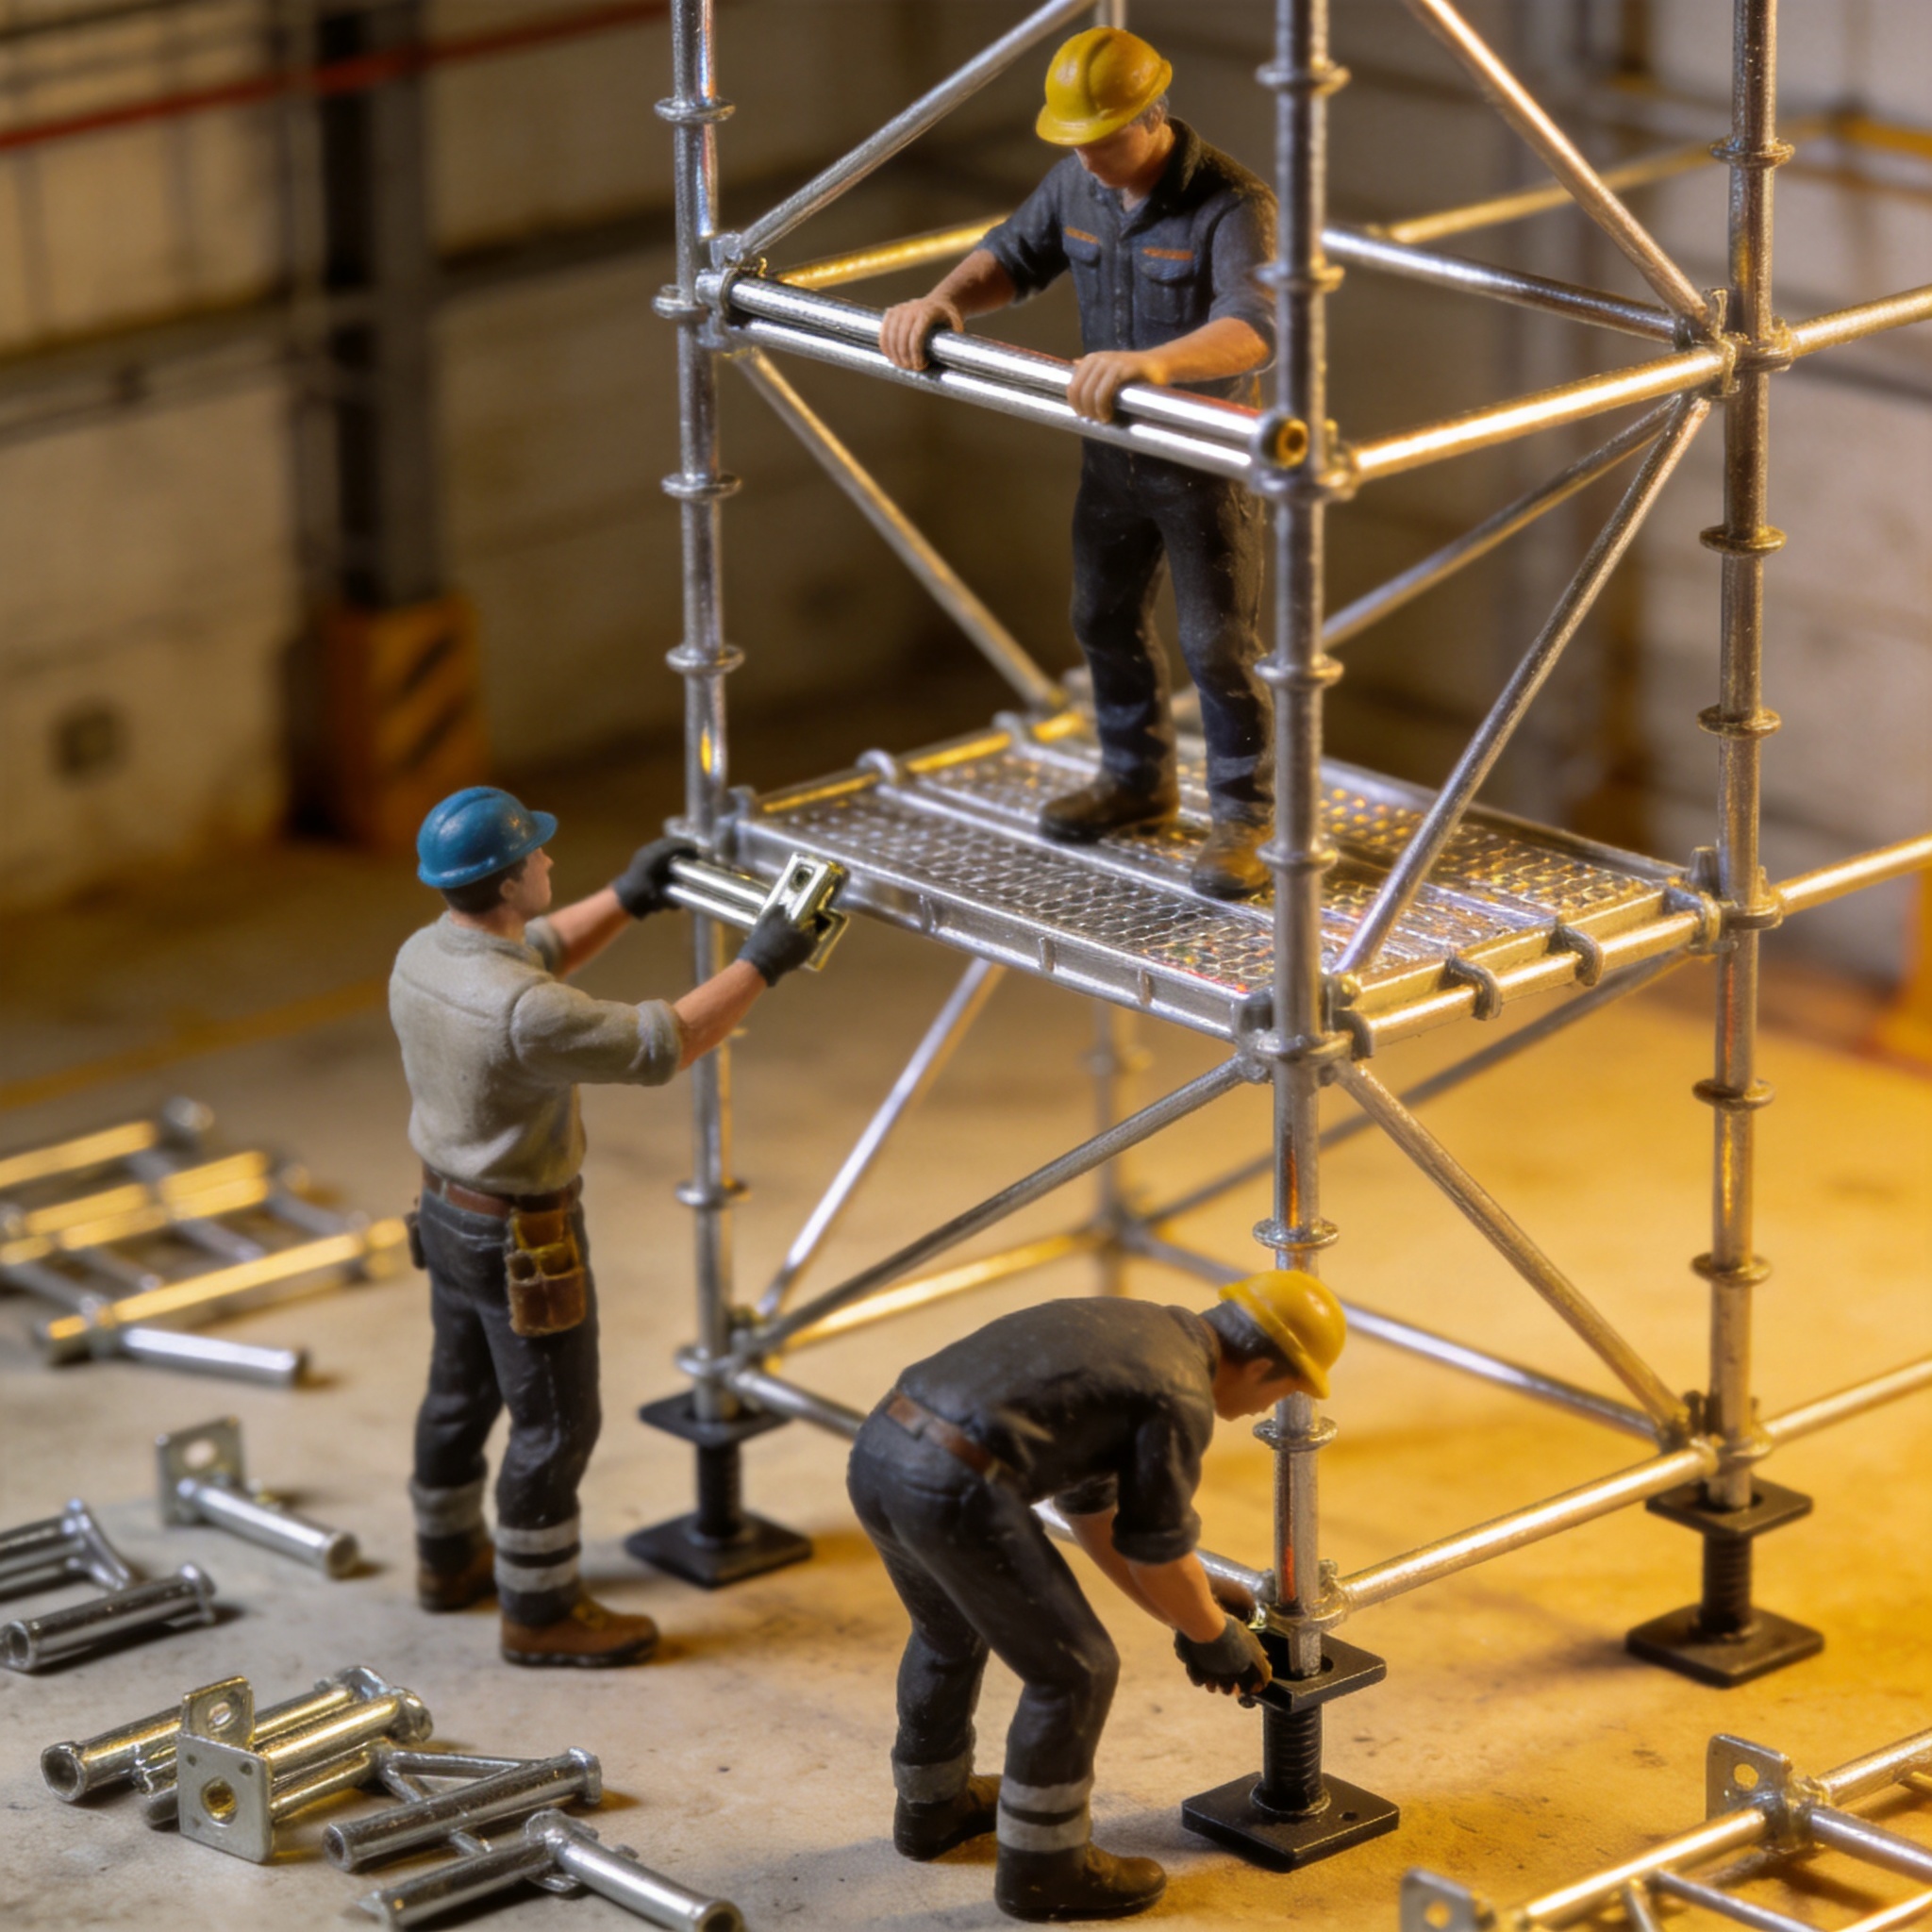
Proper scaffold assembly starts with a level foundation. Uneven ground can cause shifting and tilting, especially when you’re moving along the platform. Use adjustable base plates or screw jacks to compensate for minor grade differences. If the terrain is severely sloped, consider placing sturdy timber or aluminum leveling blocks beneath each leg. Finally, remember that maintenance of your scaffolding—like inspecting welded joints and replacing damaged planks—is part of understanding its basics. A well-maintained scaffold reduces the risk of accidents and sets the stage for a smooth, efficient painting operation.
Essential Safety Measures Before Using Scaffolding
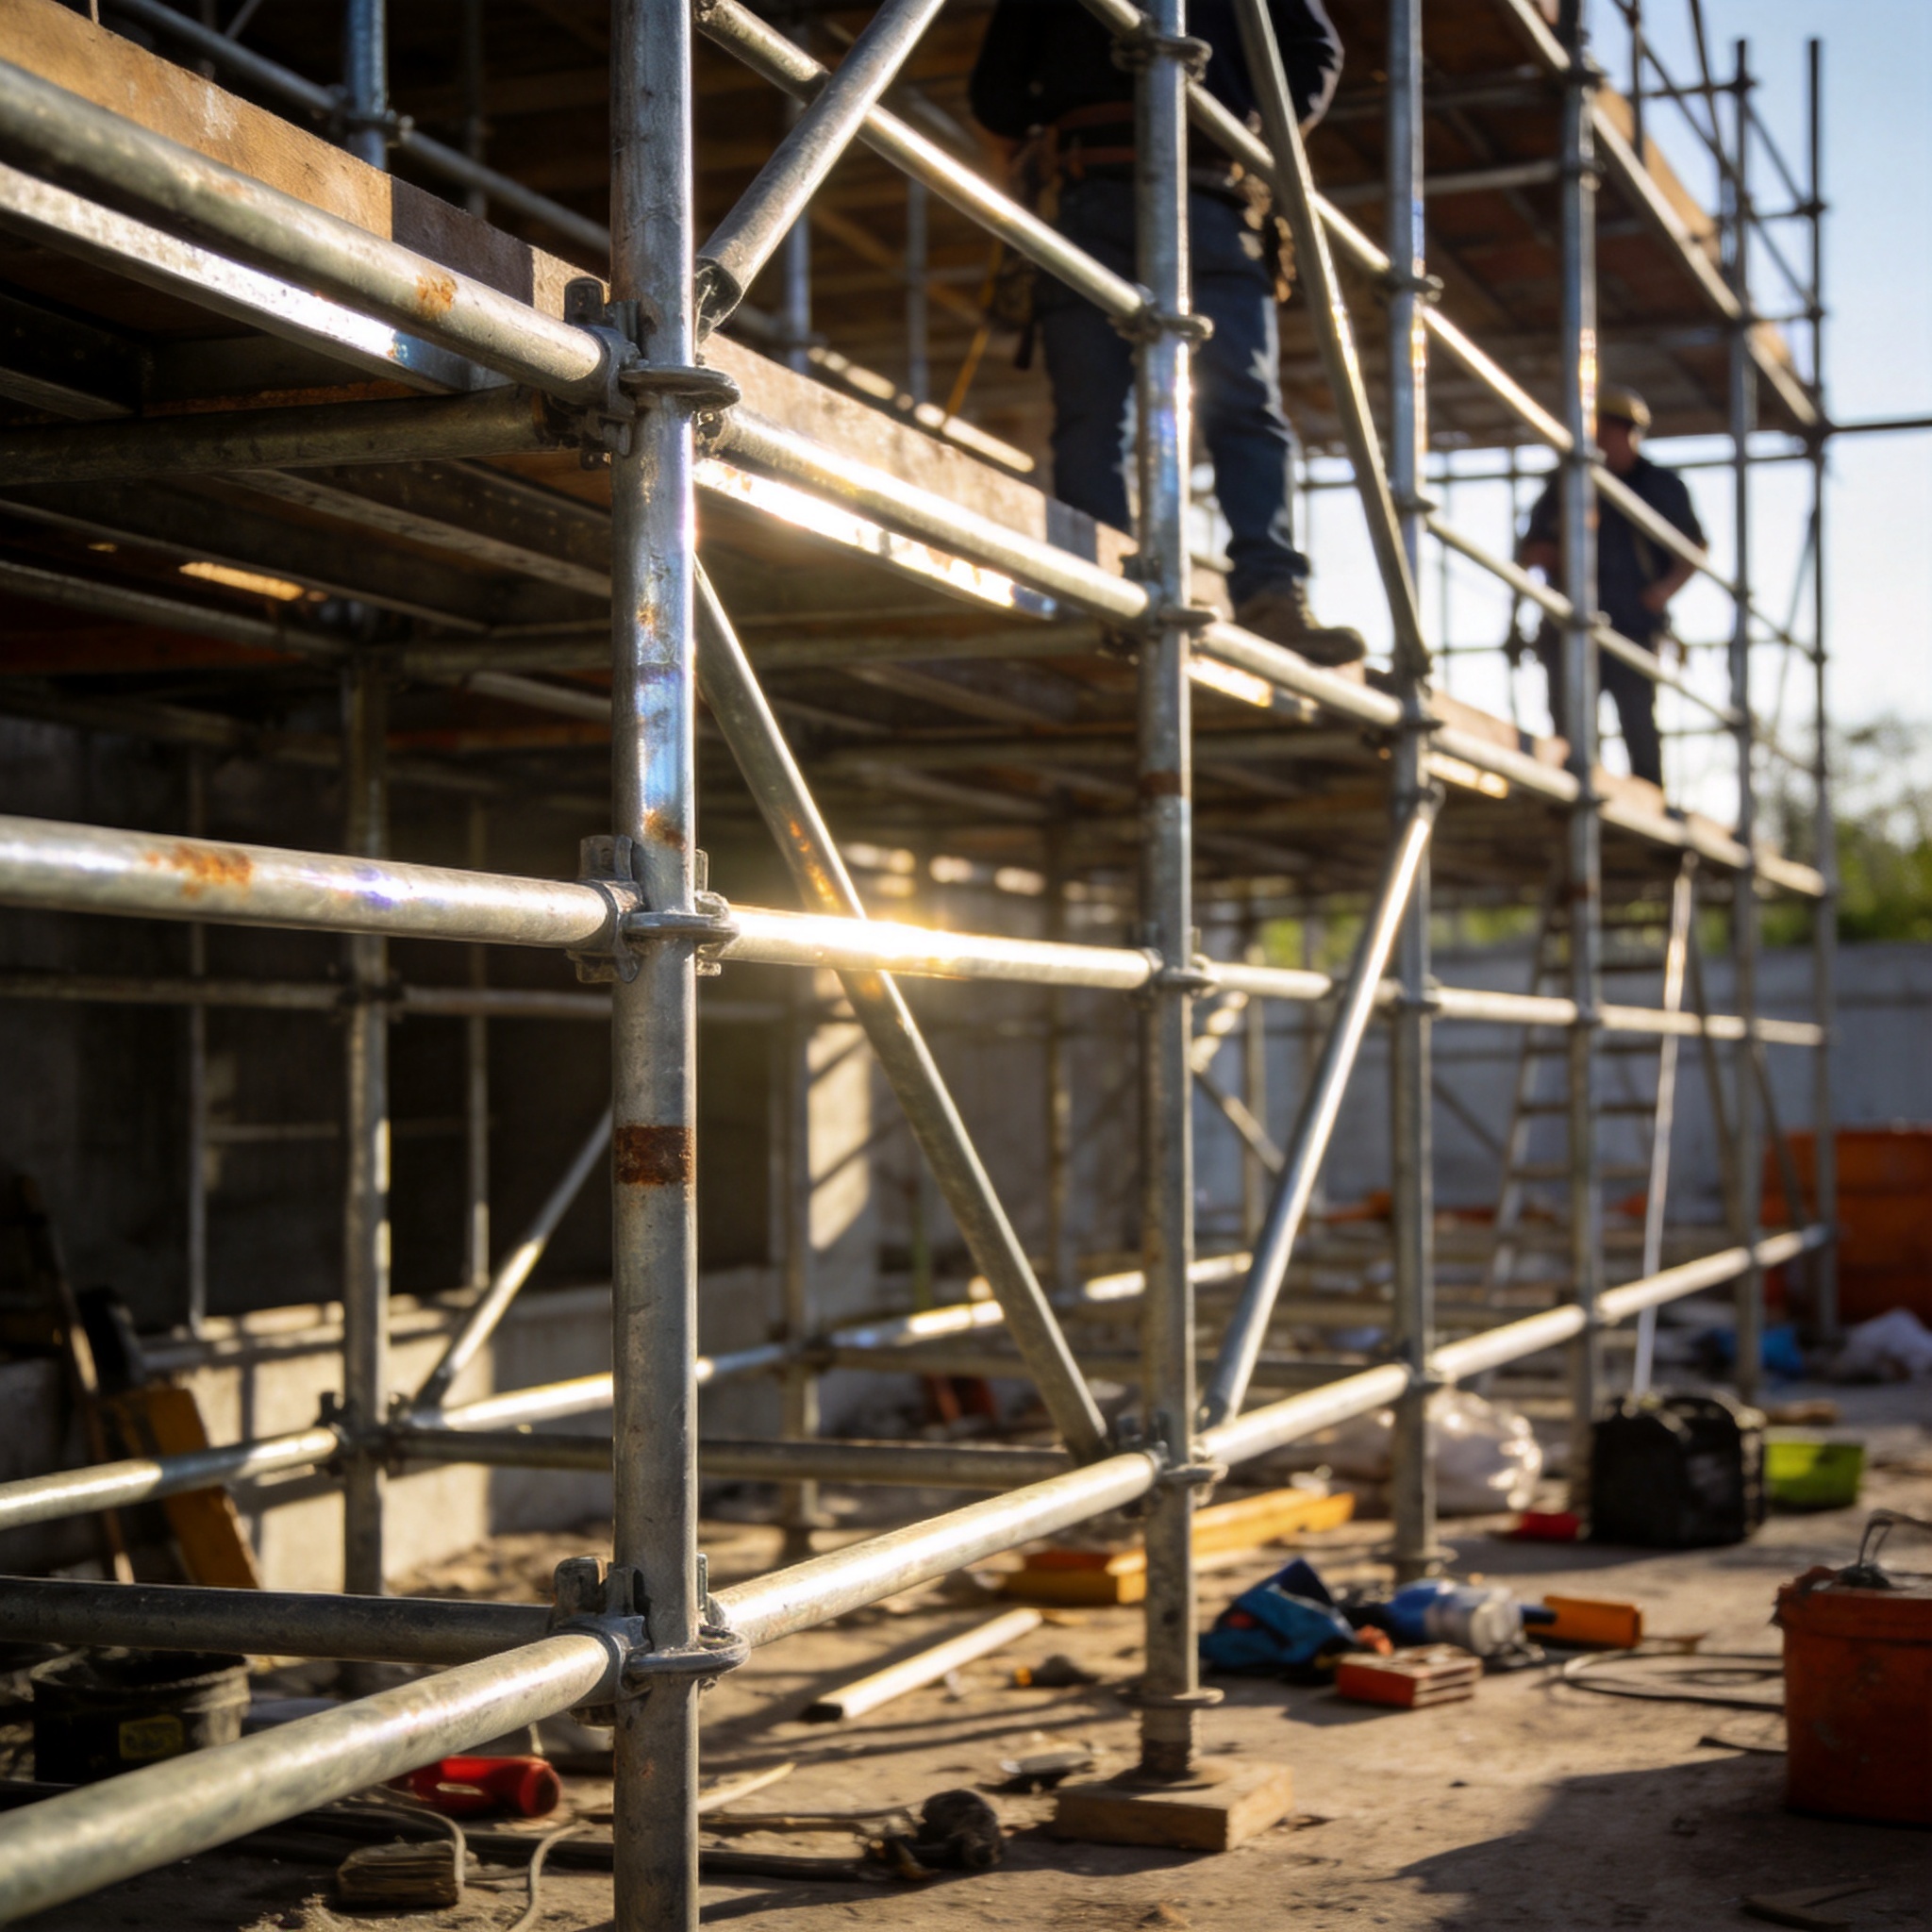
Before embarking on any painting with scaffolding, a thorough safety assessment is non-negotiable. Start by examining the worksite for potential hazards like loose debris, uneven surfaces, or nearby power lines. Remove or mark any obstacles that could interfere with the erection or use of the scaffolding. Additionally, ensure the area around the base is clear of foot traffic and materials that could be tripped over.
Personal protective equipment (PPE) forms the second pillar of safety. Hard hats, non-slip footwear, and high-visibility vests are indispensable. For elevated work, safety harnesses and lanyards should be attached to secure anchor points on the scaffold or the building itself. Always check that these anchor points can withstand the required load, and never tie off to pipes or other non-approved elements.
Training and competency also play a critical role. Every individual involved in the project—whether erecting, disassembling, or painting—should have basic scaffold safety certification. This ensures they know how to recognize signs of structural compromise and understand emergency procedures. A pre-use inspection checklist, completed daily, can help catch issues before they escalate. Take the time to review the manual, and don’t rush the setup. A methodical approach may seem slow at first, but it safeguards your team and your investment in the long run.
Proper Set-Up and Inspection of Scaffolding
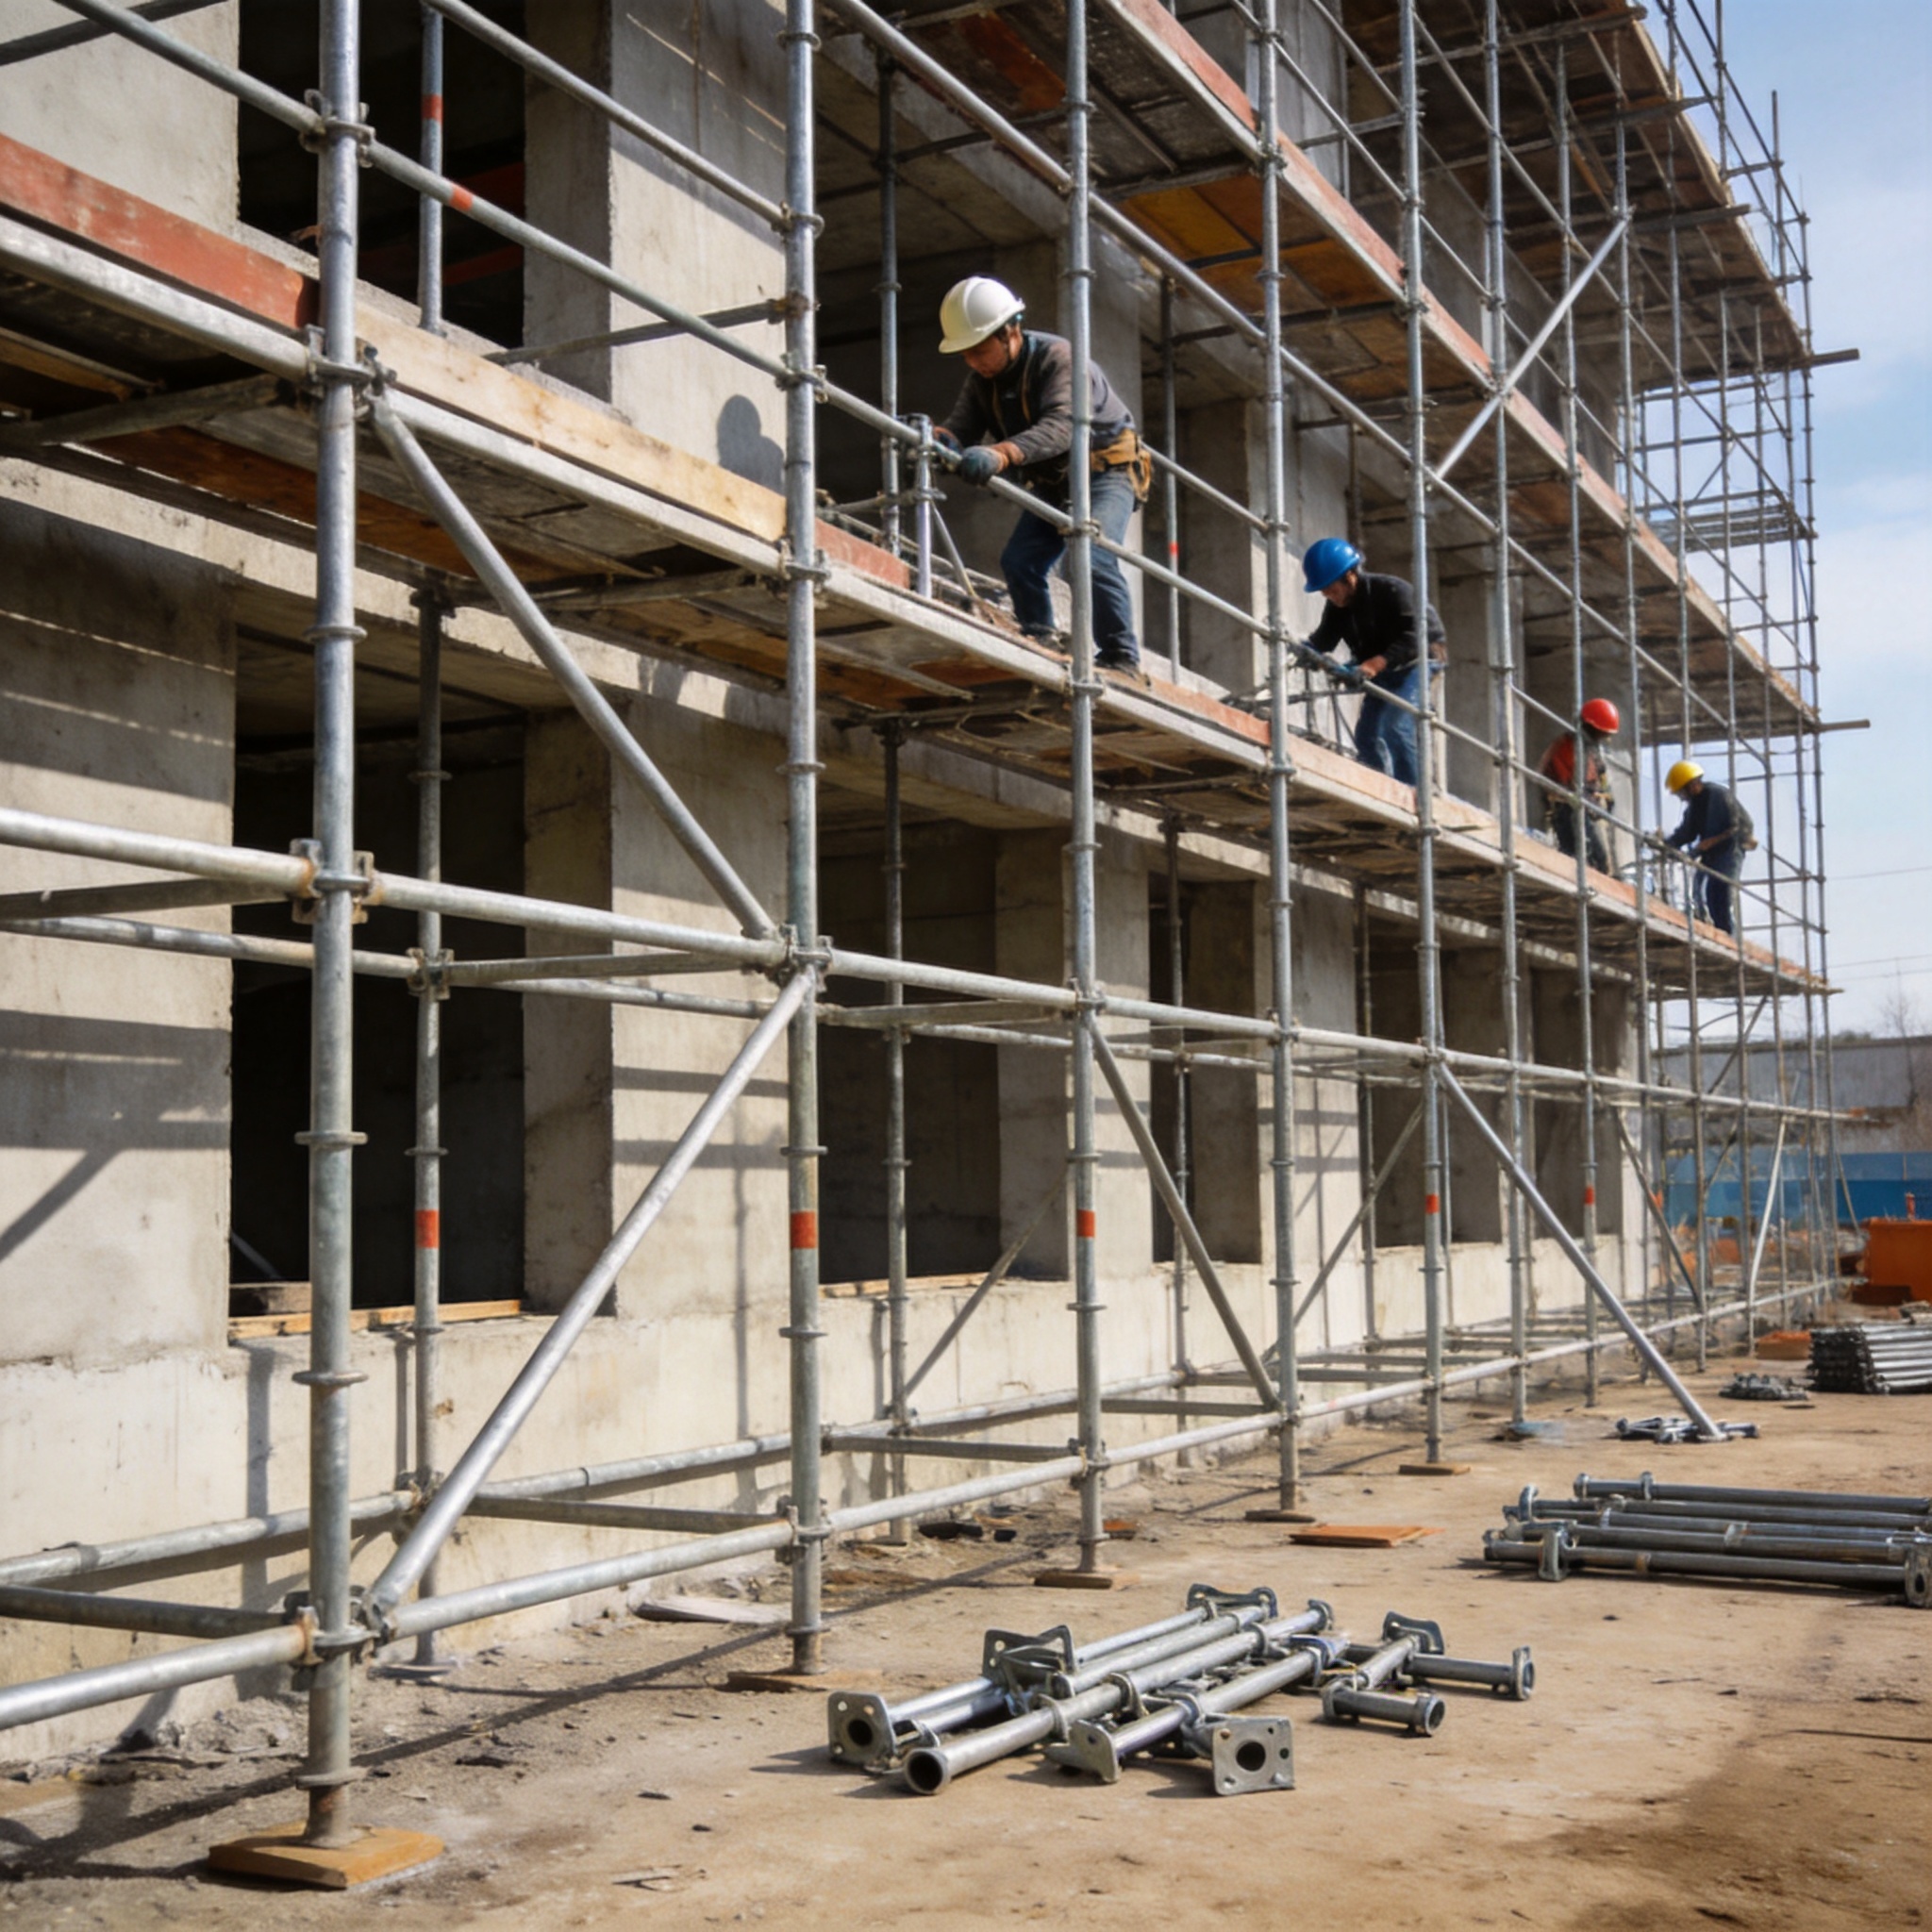
Proper set-up begins with site preparation. Clear and level the ground where your scaffolding will stand. If necessary, use base plates or adjustable legs to achieve perfect alignment. Secure the scaffold to the structure at regular intervals using tie-ins or stabilizers to prevent tipping. Double-check that all guardrails, toe boards, and planks are correctly installed and bolted in place.
Inspection is equally vital. Before each use, walk around the entire scaffold and look for cracked welds, bent components, or missing fasteners. Push gently on the frame to detect any unusual movement or sway. Examine planks for rot or splits, especially if they are wooden. Replace any damaged parts immediately, and document your findings in a daily log. An ounce of prevention here can prevent falls, equipment damage, and costly project delays.
Maintaining and Storing Scaffolding Equipment
After your painting with scaffolding is complete or during breaks in your project, proper maintenance and storage extend the life of your equipment. Start by cleaning all metal components of paint residue, dirt, and moisture. Use a wire brush and mild detergent for stubborn spots, then apply a light coating of rust-resistant oil to joints and couplings. Wooden planks should be dried thoroughly before storage to prevent warping or mold growth.
When it’s time to store, disassemble the scaffold systematically. Group similar parts together—planks, frames, guardrails, braces—in clearly labeled sections. Store metal pieces in a dry, covered area off the ground to protect from water damage and pests. Wooden components benefit from a well-ventilated space, kept flat to avoid bending. Finally, perform an end-of-season inspection. Catalog any parts requiring repair or replacement so you’re ready for the next project without scrambling for supplies.
Conclusion: Elevating Your Painting Projects Safely
Mastering the art of painting with scaffolding safely hinges on preparation, knowledge, and vigilance. By understanding scaffolding basics, enforcing rigorous safety measures, and conducting thorough inspections, you protect both your crew and your work.
Regular maintenance and organized storage keep your equipment in peak condition, ensuring your next painting venture begins on solid ground. With these tips in hand, you can confidently elevate your projects—literally and figuratively—while keeping safety at the forefront of every stroke.
