


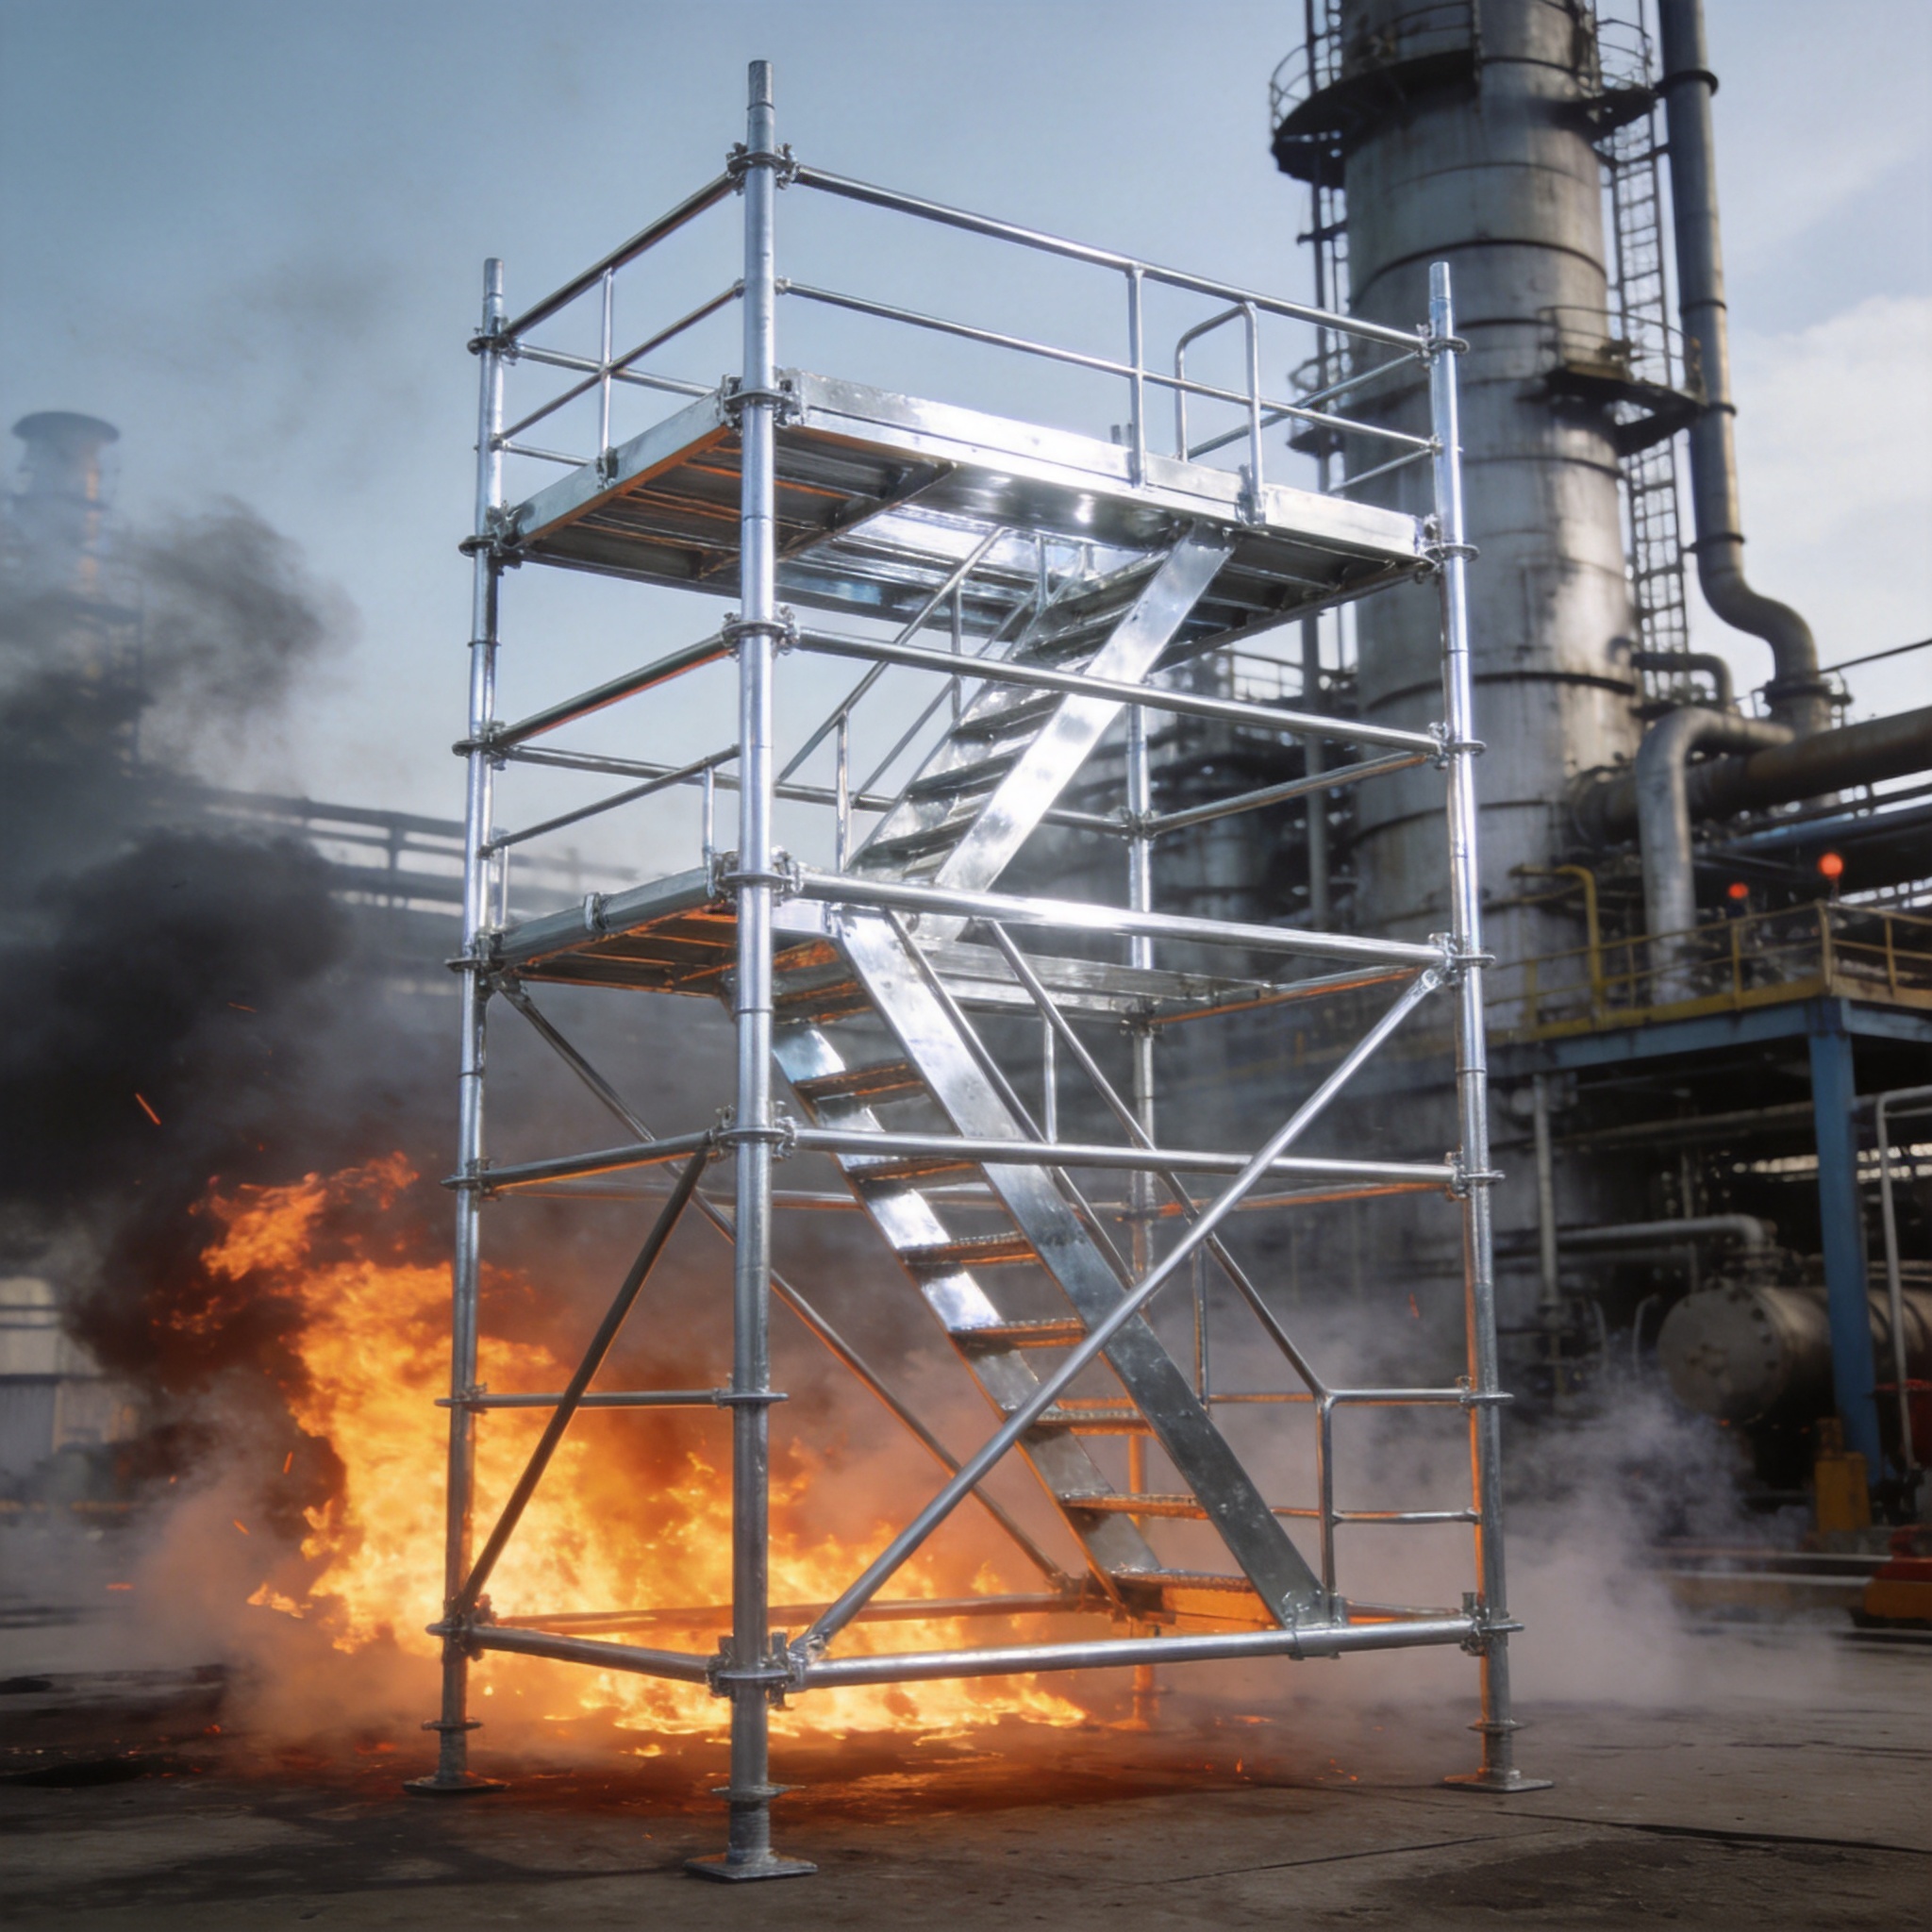


The towering framework of scaffolding installation is often the unsung hero of construction sites, providing essential support and access for workers tackling ambitious projects. However, beneath its seemingly straightforward assembly lies a world of intricate techniques and vital safety protocols that can make or break a project’s success. Safety and efficiency are paramount, transforming these steel structures from potential hazards into reliable work platforms. As construction projects become more complex and time-sensitive, mastering the art of scaffolding installation is no longer just an advantage—it’s a necessity.
Imagine a world where every construction site operates like a well-oiled machine, with scaffolding installations carried out seamlessly, minimizing risks and maximizing productivity. It isn’t just a dream but a reality that can be achieved through expert knowledge and precise execution. In this blog post, we will journey through the transformative techniques that ensure a safe and efficient process, shedding light on the revolutionary practices that are setting new standards in construction safety and efficiency. Whether you’re a seasoned professional or new to the trade, understanding these techniques could redefine your approach to scaffolding in ways you never thought possible.
Understanding Scaffolding Components and Types
A successful scaffolding installation begins with a clear grasp of its basic components. Standards (vertical poles), ledgers (horizontal support), and transoms (cross braces) form the primary skeleton of any structure. Base plates and sole boards distribute loads evenly, preventing undue pressure on the ground. Couplers and clamps secure each element, ensuring structural cohesion. Beyond these essentials, specialized platforms, guardrails, and toe boards provide safety and working space. Recognizing how each part interacts is critical to preventing unforeseen failures on site, where one loose clamp could compromise an entire setup.
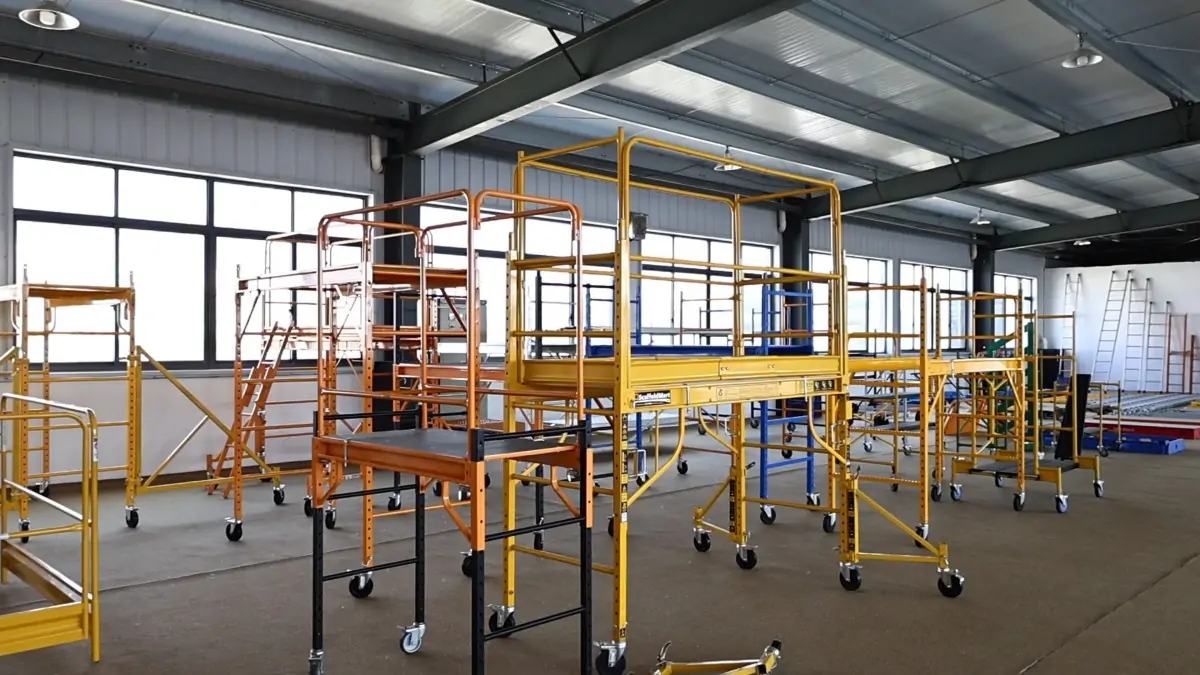
Scaffolding systems come in various configurations. Tube-and-clamp scaffolds offer versatility, allowing custom shapes to conform to complex building facades. Prefabricated frame systems speed up assembly and disassembly, making them popular for projects with tight deadlines. System scaffolds, such as cuplock or ringlock, integrate interlocking mechanisms that enhance vertical and horizontal stability. Material choice—steel for heavy-duty tasks, aluminum for lightweight portability—further tailors the structure to site demands. By matching project requirements with the appropriate scaffold type, teams can optimize both safety and efficiency.
Understanding load classifications is equally important. Light-duty scaffolds accommodate up to 25 pounds per square foot, whereas heavy-duty platforms can support 75 pounds or more. Assessing worker count, tool weights, and material loads helps determine the right capacity. Weather conditions and ground conditions also influence component selection: mudsills under base plates and toe boards in wet environments prevent slips and shifts. In-depth knowledge of these factors underpins a durable scaffolding installation that stands firm throughout the construction cycle.
Erecting a Solid Foundation: Base Setup
The foundation is where safety and stability take root. Begin by surveying the ground for levelness, moisture content, and bearing capacity. Uneven terrain requires adjustable base jacks and leveling screws to compensate for gradients. On soft soils, install mudsills or timber pads beneath base plates to distribute the scaffold’s load and prevent sinking. Compact the ground if necessary and ensure a consistent footprint for every vertical standard.
Once the ground is prepared, position the base plates on each footing and attach the vertical standards. Use a spirit level or laser level to confirm plumb alignment, adjusting jacks as needed. Check diagonals between standards to square the frame precisely. Secure the first ledger at a low height to lock the base into shape before proceeding upward. This initial bracing transforms individual poles into a unified structure, resistant to tipping and shifting. A robust base setup ensures that the rest of the scaffolding installation proceeds smoothly, reducing the risk of corrective work later on.
Bracing and Reinforcement for Structural Integrity
Diagonal bracing is essential for countering wind loads and dynamic forces. Install cross braces at consistent intervals, typically every two or three bays, to form rigid triangles that prevent racking. Ensure that all braces are firmly clamped and free of damage. Replace any bent tubes immediately to maintain the designed strength. Proper bracing transforms a simple set of poles into a resilient, load-bearing framework capable of withstanding external stresses.
Beyond cross braces, internal reinforcement bolsters the scaffold’s capacity. Ledger-guard connections, toeboards with kick plates, and guardrails help contain tools and materials, preventing accidents. Where heavy equipment or concentrated loads are expected, incorporate internal support brackets or scaffold jacks at intermediate levels. Tie the scaffold to the building structure using adjustable anchors to reduce sway and uplift. Regularly inspect these anchors for corrosion or looseness, tightening them as needed to maintain continuous structural integrity throughout the project’s lifecycle.
Utilizing Tools and Equipment Effectively
Proper tool selection accelerates scaffolding installation while upholding safety. Impact wrenches and ratchet spanners speed up coupler tightening but require torque-limiting attachments to avoid overtightening. Use laser levels for rapid alignment checks and digital inclinometers to verify plumb and square configurations. Carry a calibrated tape measure to confirm spacing between ledgers and bracing points, ensuring compliance with design specifications.
Equipment maintenance is equally vital. Inspect hand tools for wear, replace damaged handles, and keep power tool batteries fully charged. Maintain scaffold boards free of cracks or splits; discard any that show excessive deterioration. Store tools in organized tool belts or secure bins on completed platforms to minimize clutter and trip hazards. By combining the right equipment with disciplined upkeep, crews can execute a scaffolding installation that is both swift and dependable, avoiding delays and costly rework.
Conclusion: Achieving Mastery in Scaffolding Installation
Mastering scaffolding installation demands a holistic approach: understanding components, preparing foundations, reinforcing structures, and leveraging the right tools. Each step builds upon the last, creating a cohesive framework that prioritizes safety and productivity.
By adhering to best practices and conducting regular inspections, construction teams can minimize risks and optimize workflow. Implement these techniques, and you’ll transform every scaffold assembly into a testament of precision and durability—raising the standard for projects of any scale.
