
Table of Contents
Preparation and Site Assessment
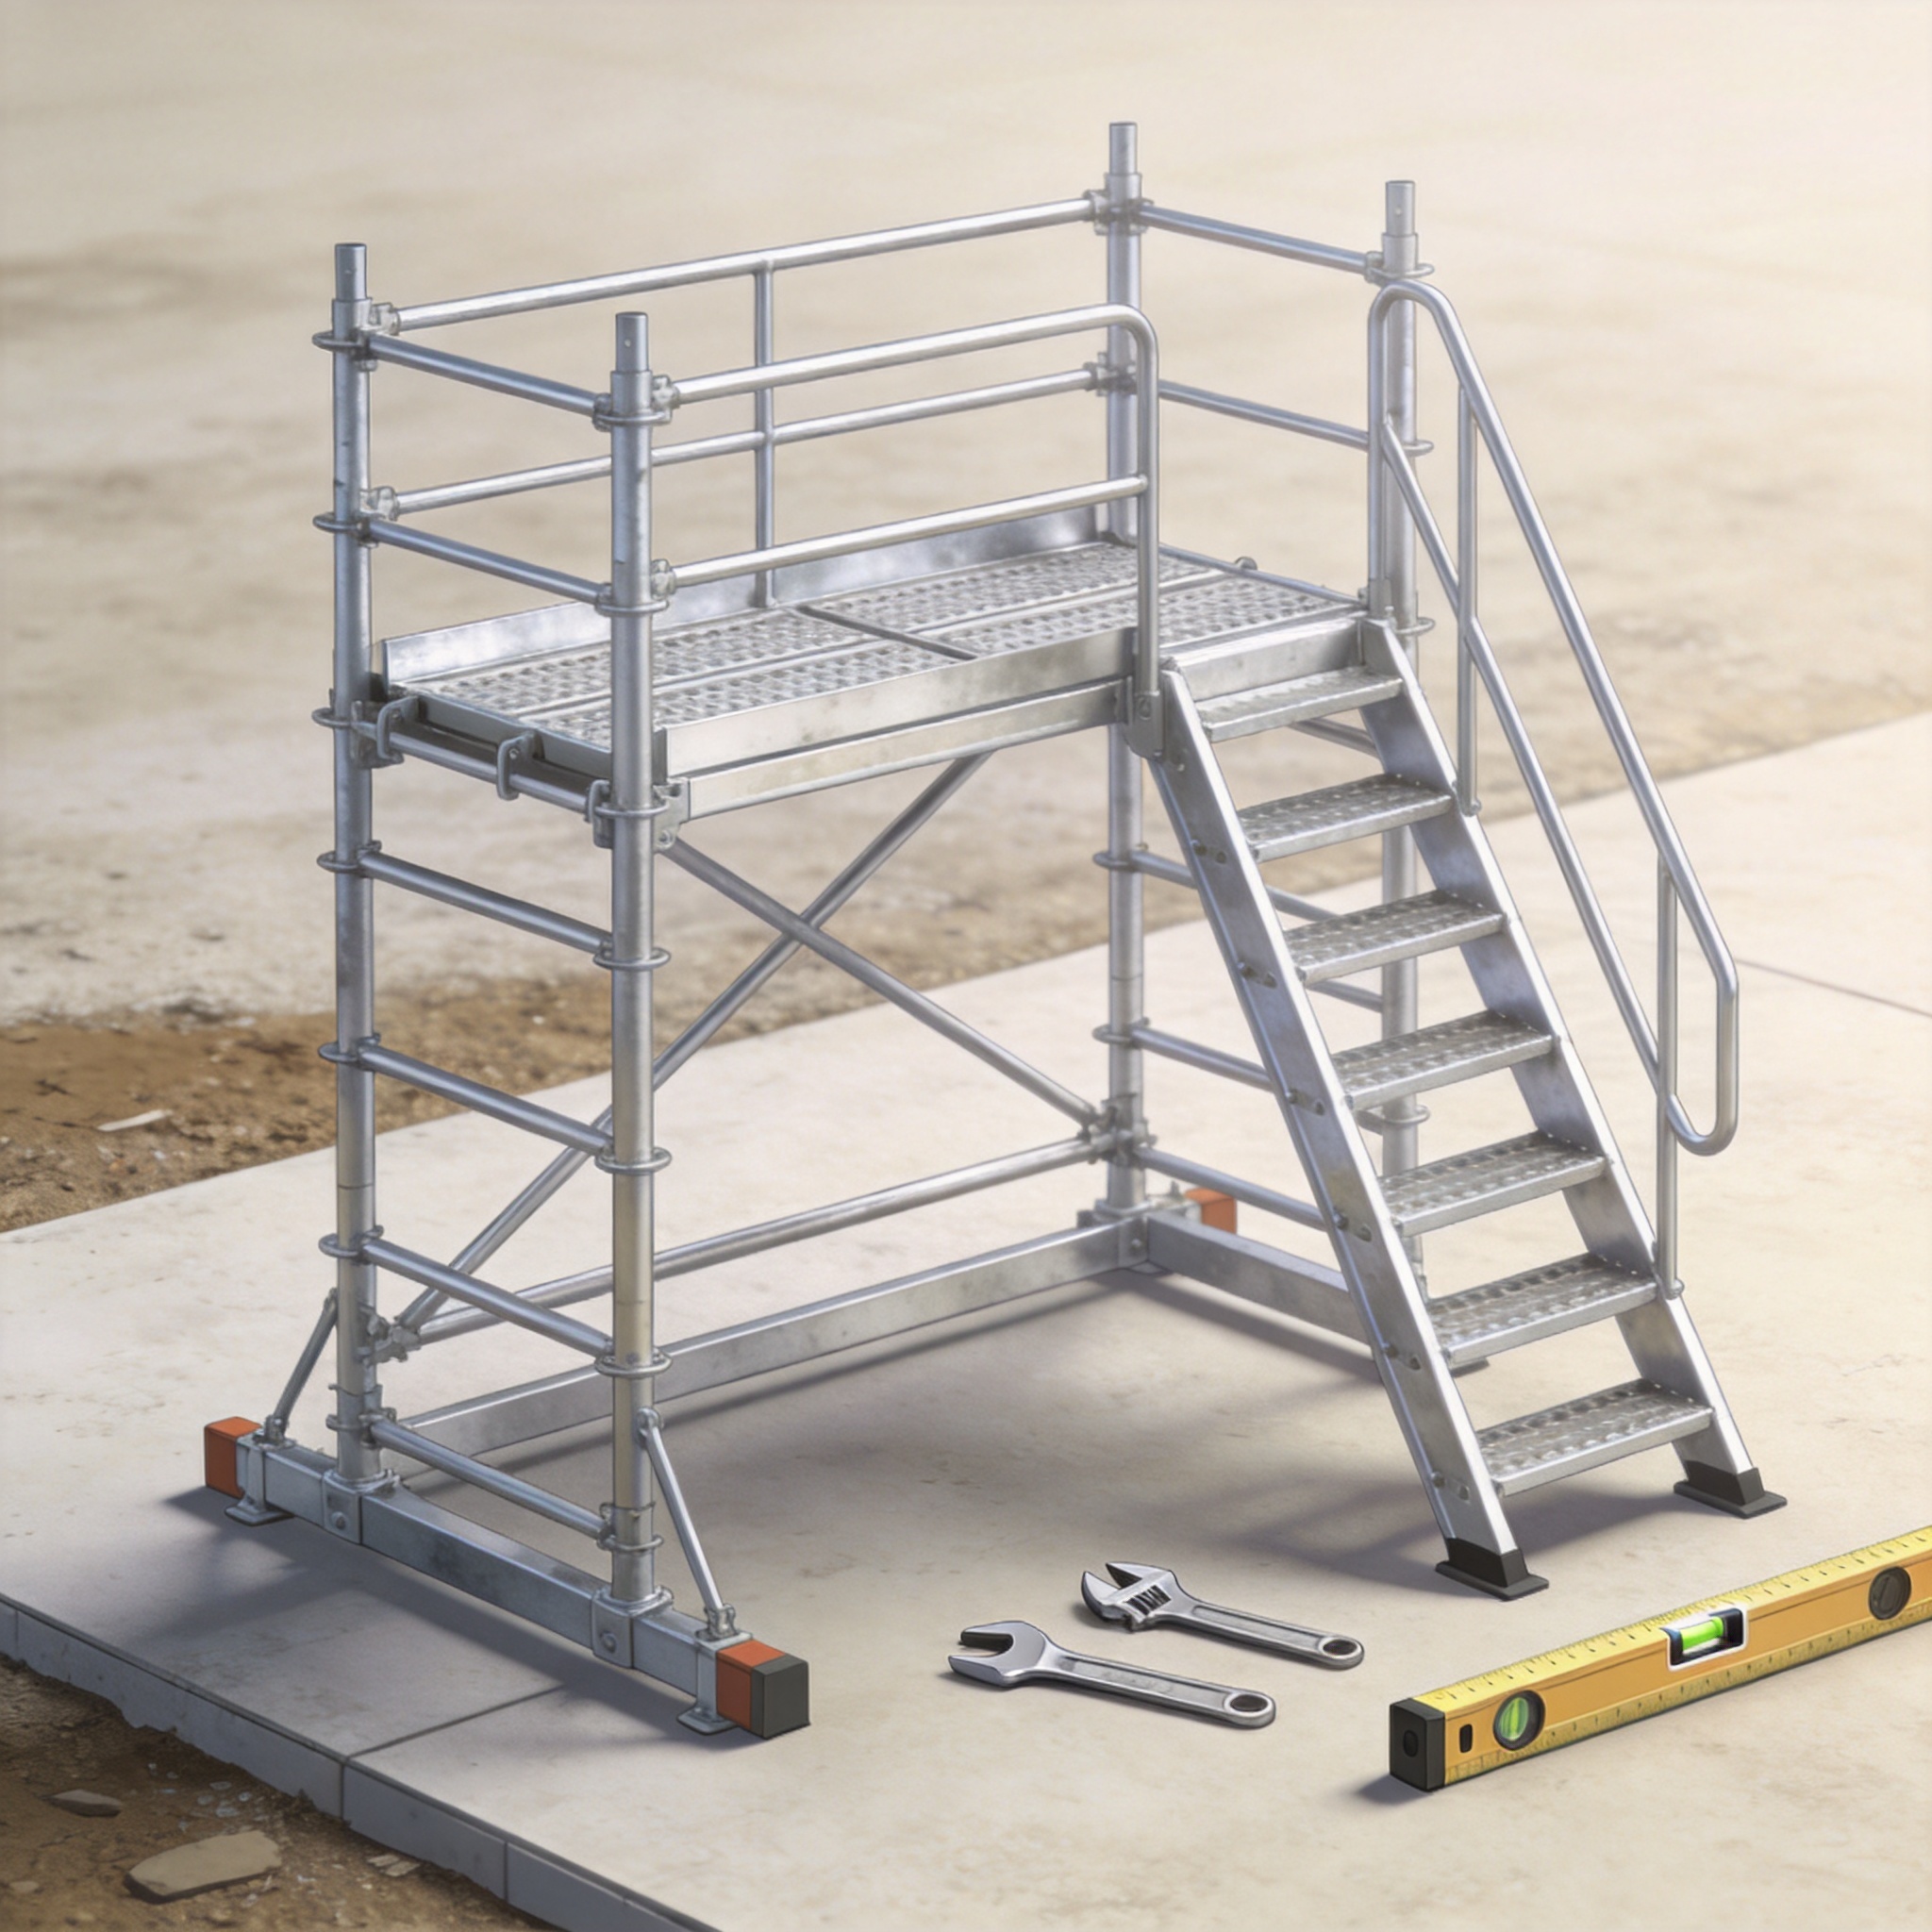
Before touching a single aluminum tube, I spend at least 20 minutes walking the job site. In my 16 years of building access solutions, the most common failure point isn’t the scaffold itself¡ªit’s the ground it stands on. You need to verify that the surface can support the concentrated loads of the outriggers and leveling jacks. According to OSHA standard 1926.451(a)(1), the scaffold must be capable of supporting its own weight and at least four times the maximum intended load without failure.
I never assemble on wet, frozen, or uneven ground without first using base plates. For aluminum scaffolds, which are lighter than steel but still carry significant dynamic loads, the risk of tipping increases exponentially if the base isn’t level. I also check for overhead obstructions like power lines; the minimum clearance for scaffolds near power lines is 10 feet for voltages under 50kV, per OSHA regulations.
Finally, gather your crew and your PPE. Aluminum is conductive, so if you are working near any electrical source, you must use fiberglass, not aluminum. For this guide, I am assuming a standard interior or exterior residential job with no electrical hazards. You will need a minimum of two people for assembly¡ªnever attempt to erect a multi-level scaffold alone.
Step 1: Assembling the Base Frame and Leveling Jacks
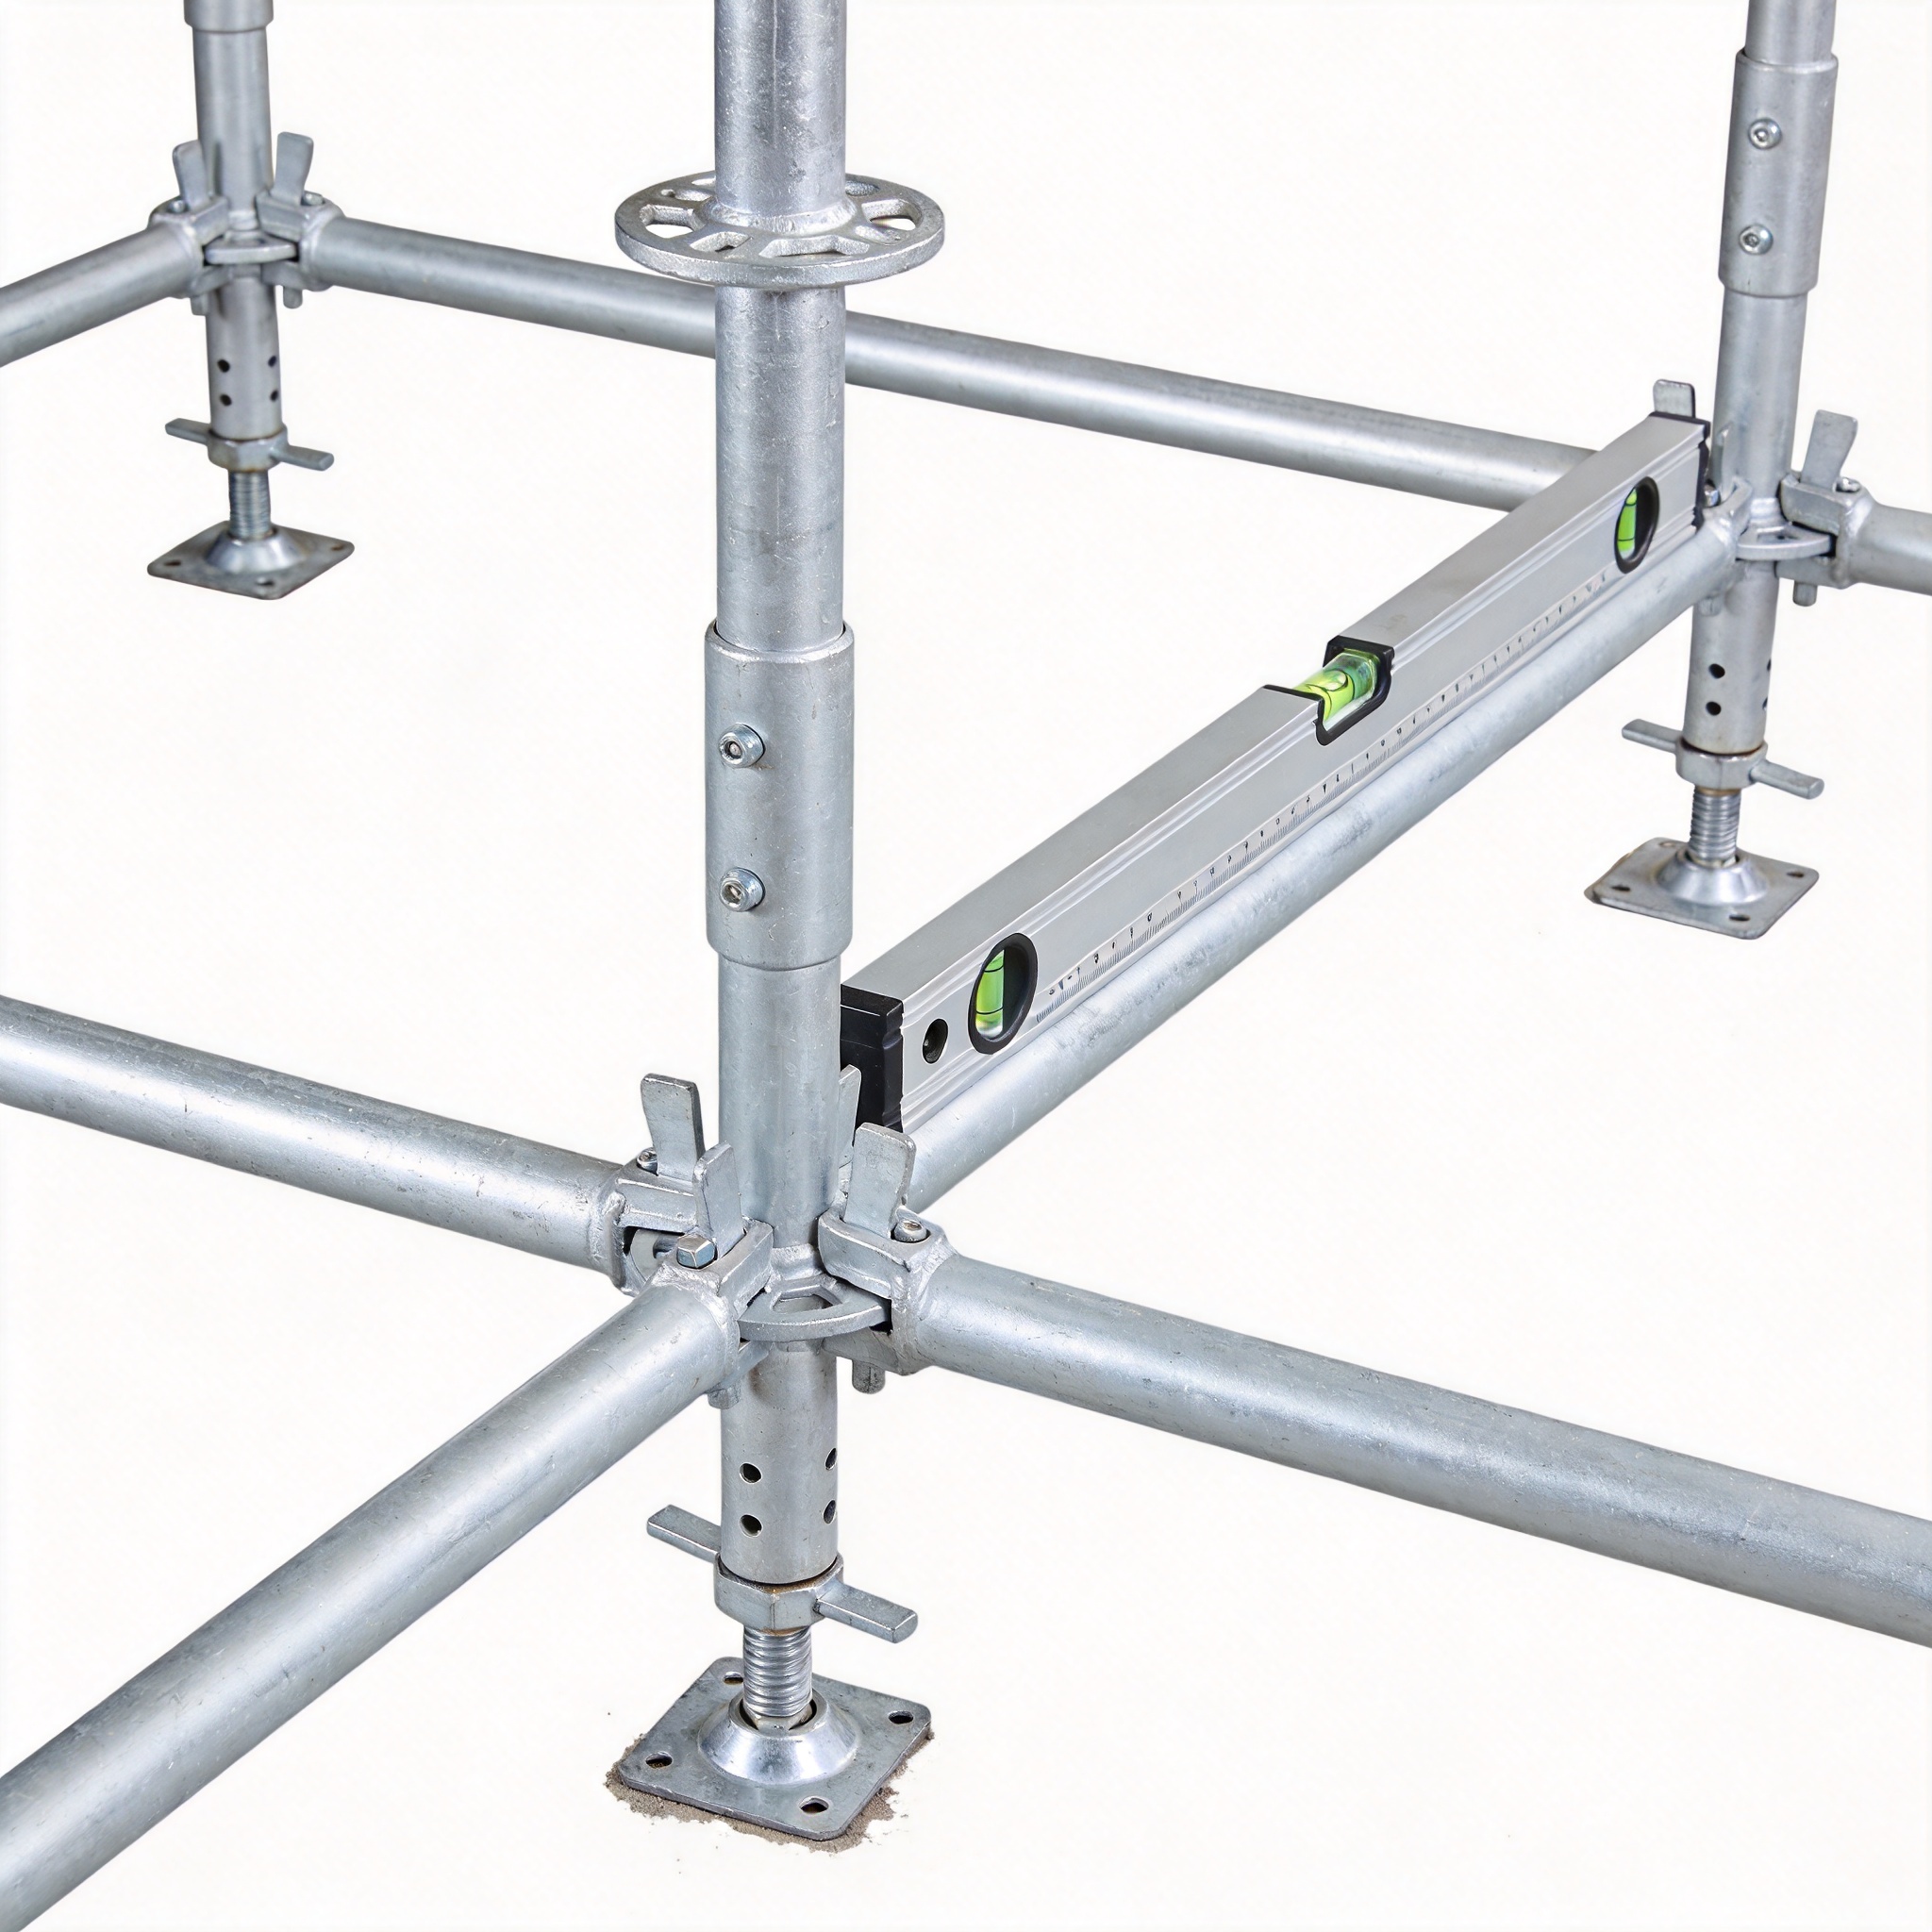
The base frame is the foundation of your entire structure. In my testing, I have found that skipping the leveling jacks to save 90 seconds results in a wobbly platform that requires constant re-correction. Start by laying out the four adjustable base jacks or casters. If you are using casters, ensure they have positive wheel locks and swivel locks. The maximum height for a rolling scaffold is typically 4 times the minimum base dimension, but I always keep it to a 3:1 ratio for safety. For a stable and reliable base, consider using a heavy duty galvanized steel scaffold tower if you need extra support in demanding conditions.
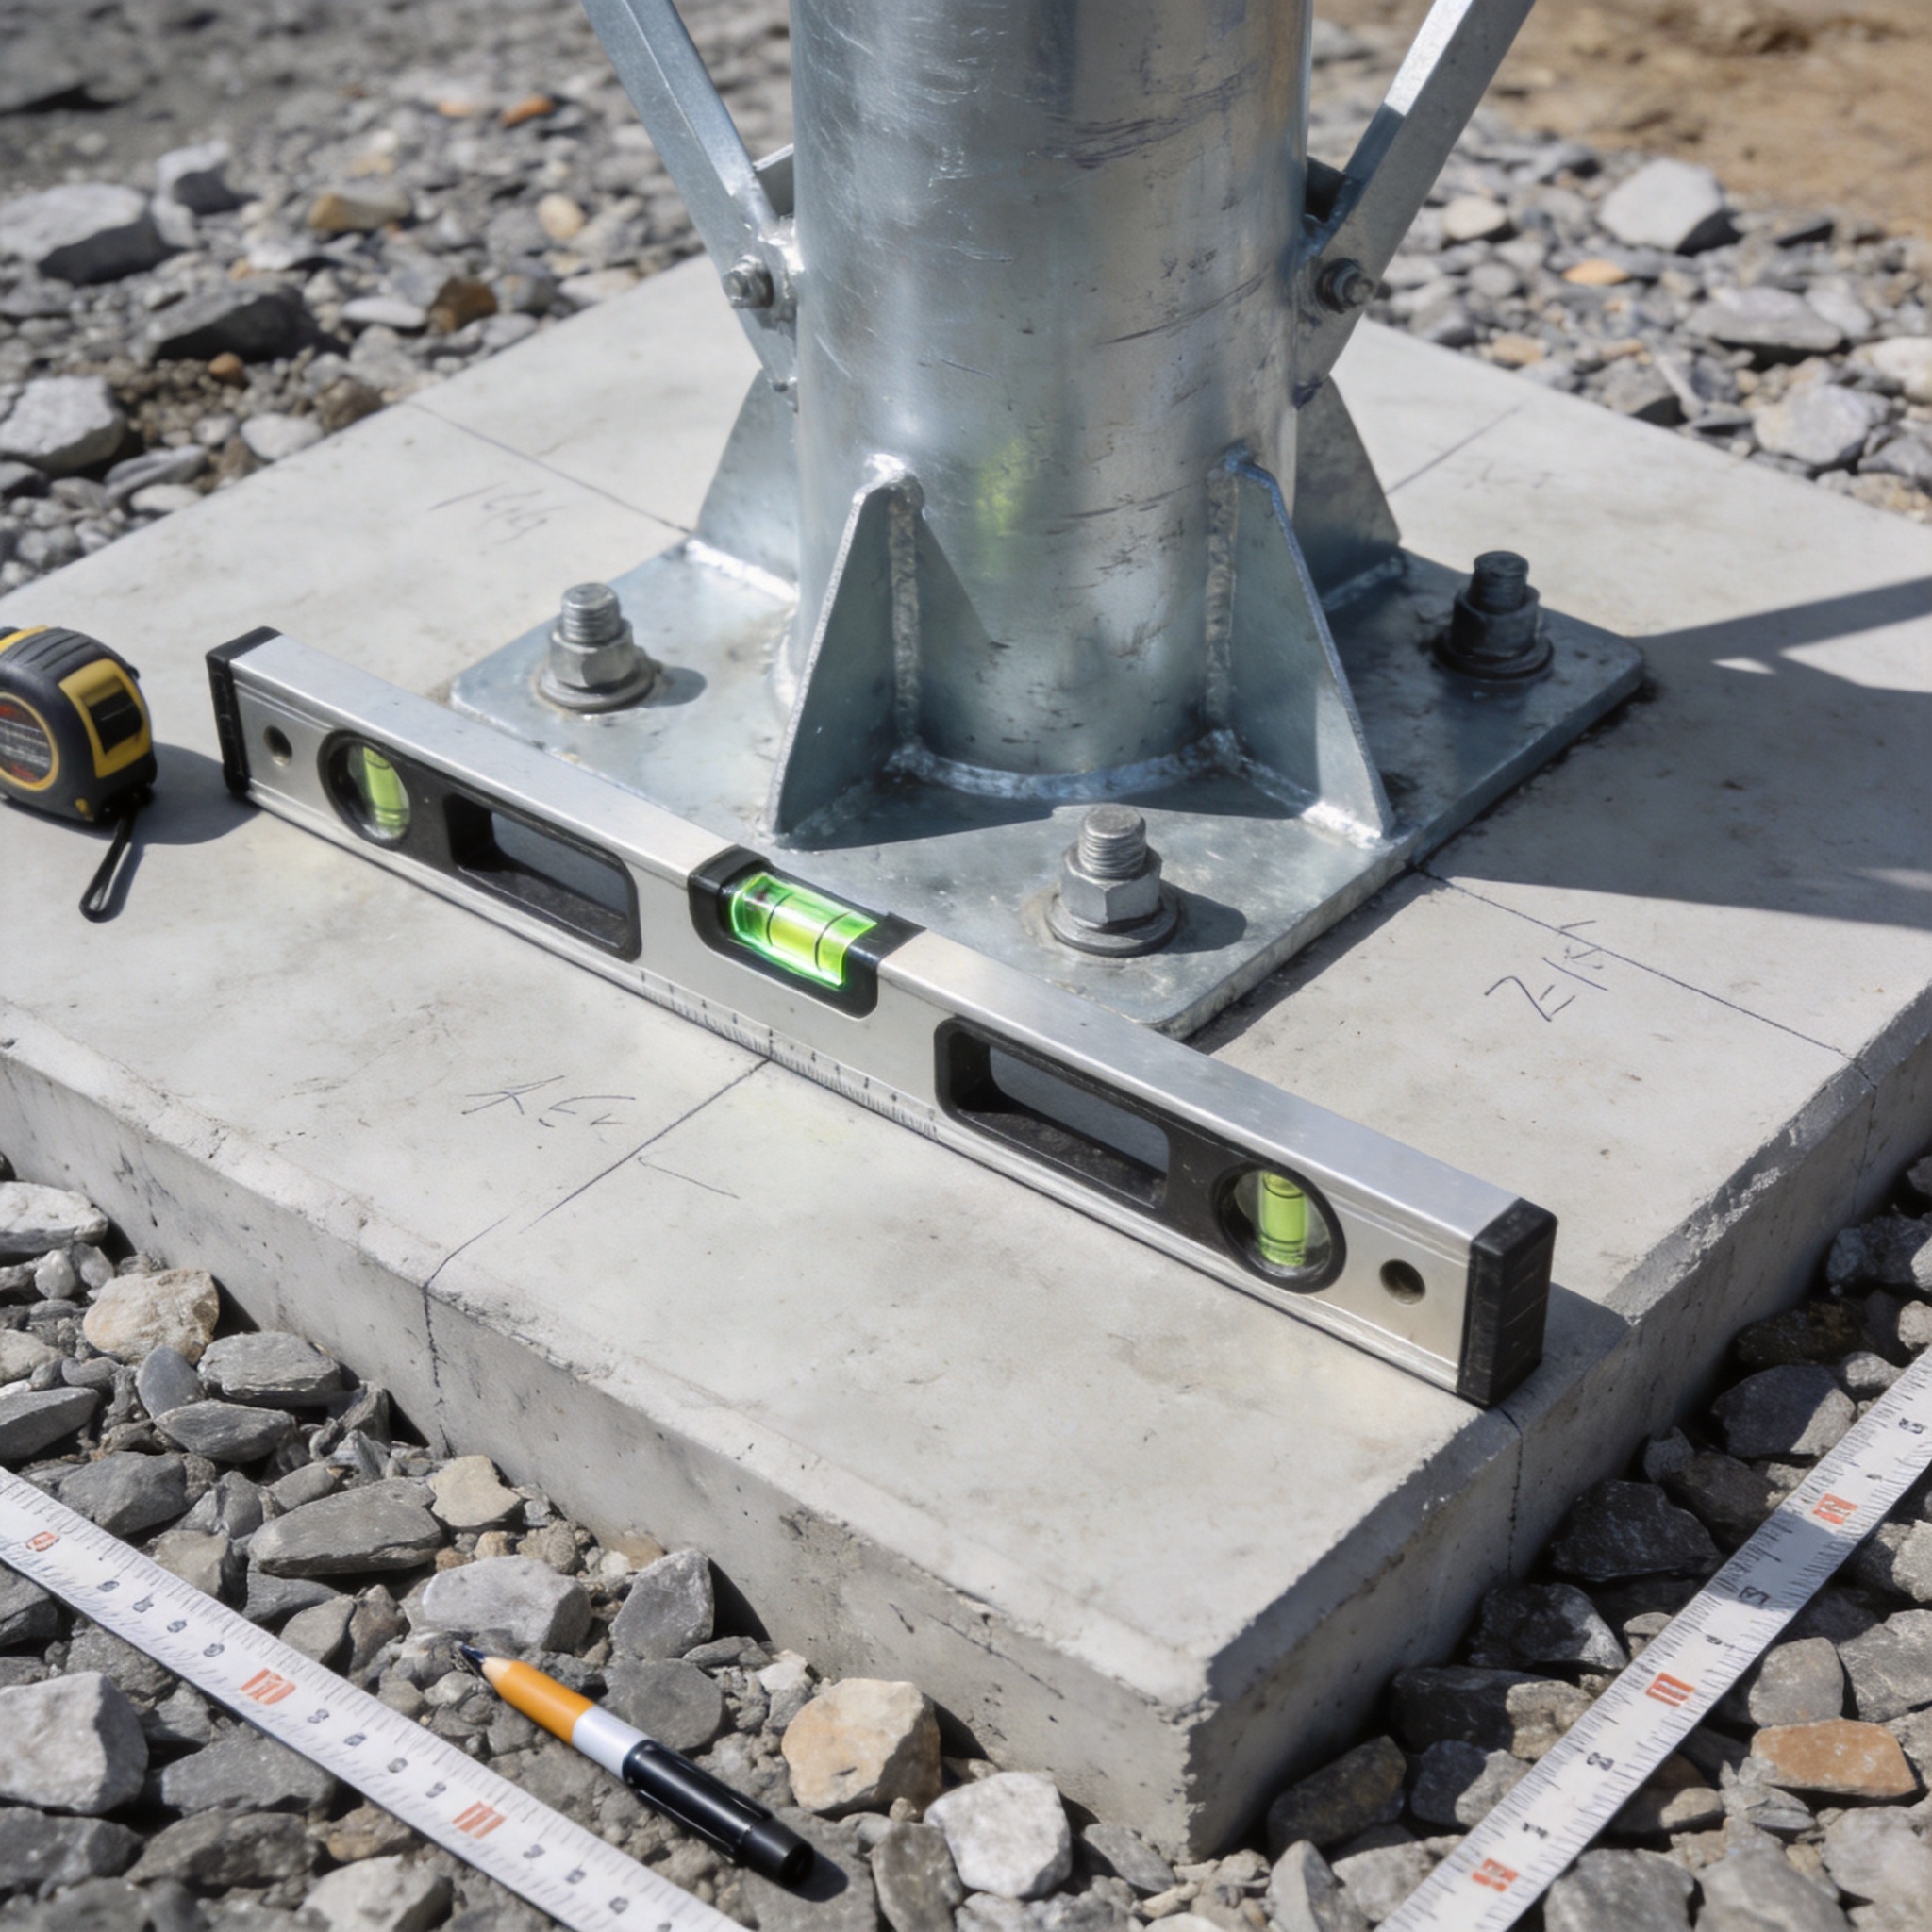
Insert the base jacks into the bottom of the vertical frames before you lift them. This is a critical aluminum scaffold assembly step that many novices get wrong. You thread the jack into the frame leg, then adjust the nut to level the frame. Use a spirit level on the horizontal frame member to check both axes. I usually adjust the jack legs until the bubble is perfectly centered; this takes about 5 minutes but prevents catastrophic racking later.
Once the base is level, install the diagonal cross braces between the bottom of one frame and the top of the adjacent frame. These braces lock the scaffold into a rigid rectangle. Do not move to the next step until the bottom section is completely square and stable.
Step 2: Erecting Vertical Frames and Cross Braces
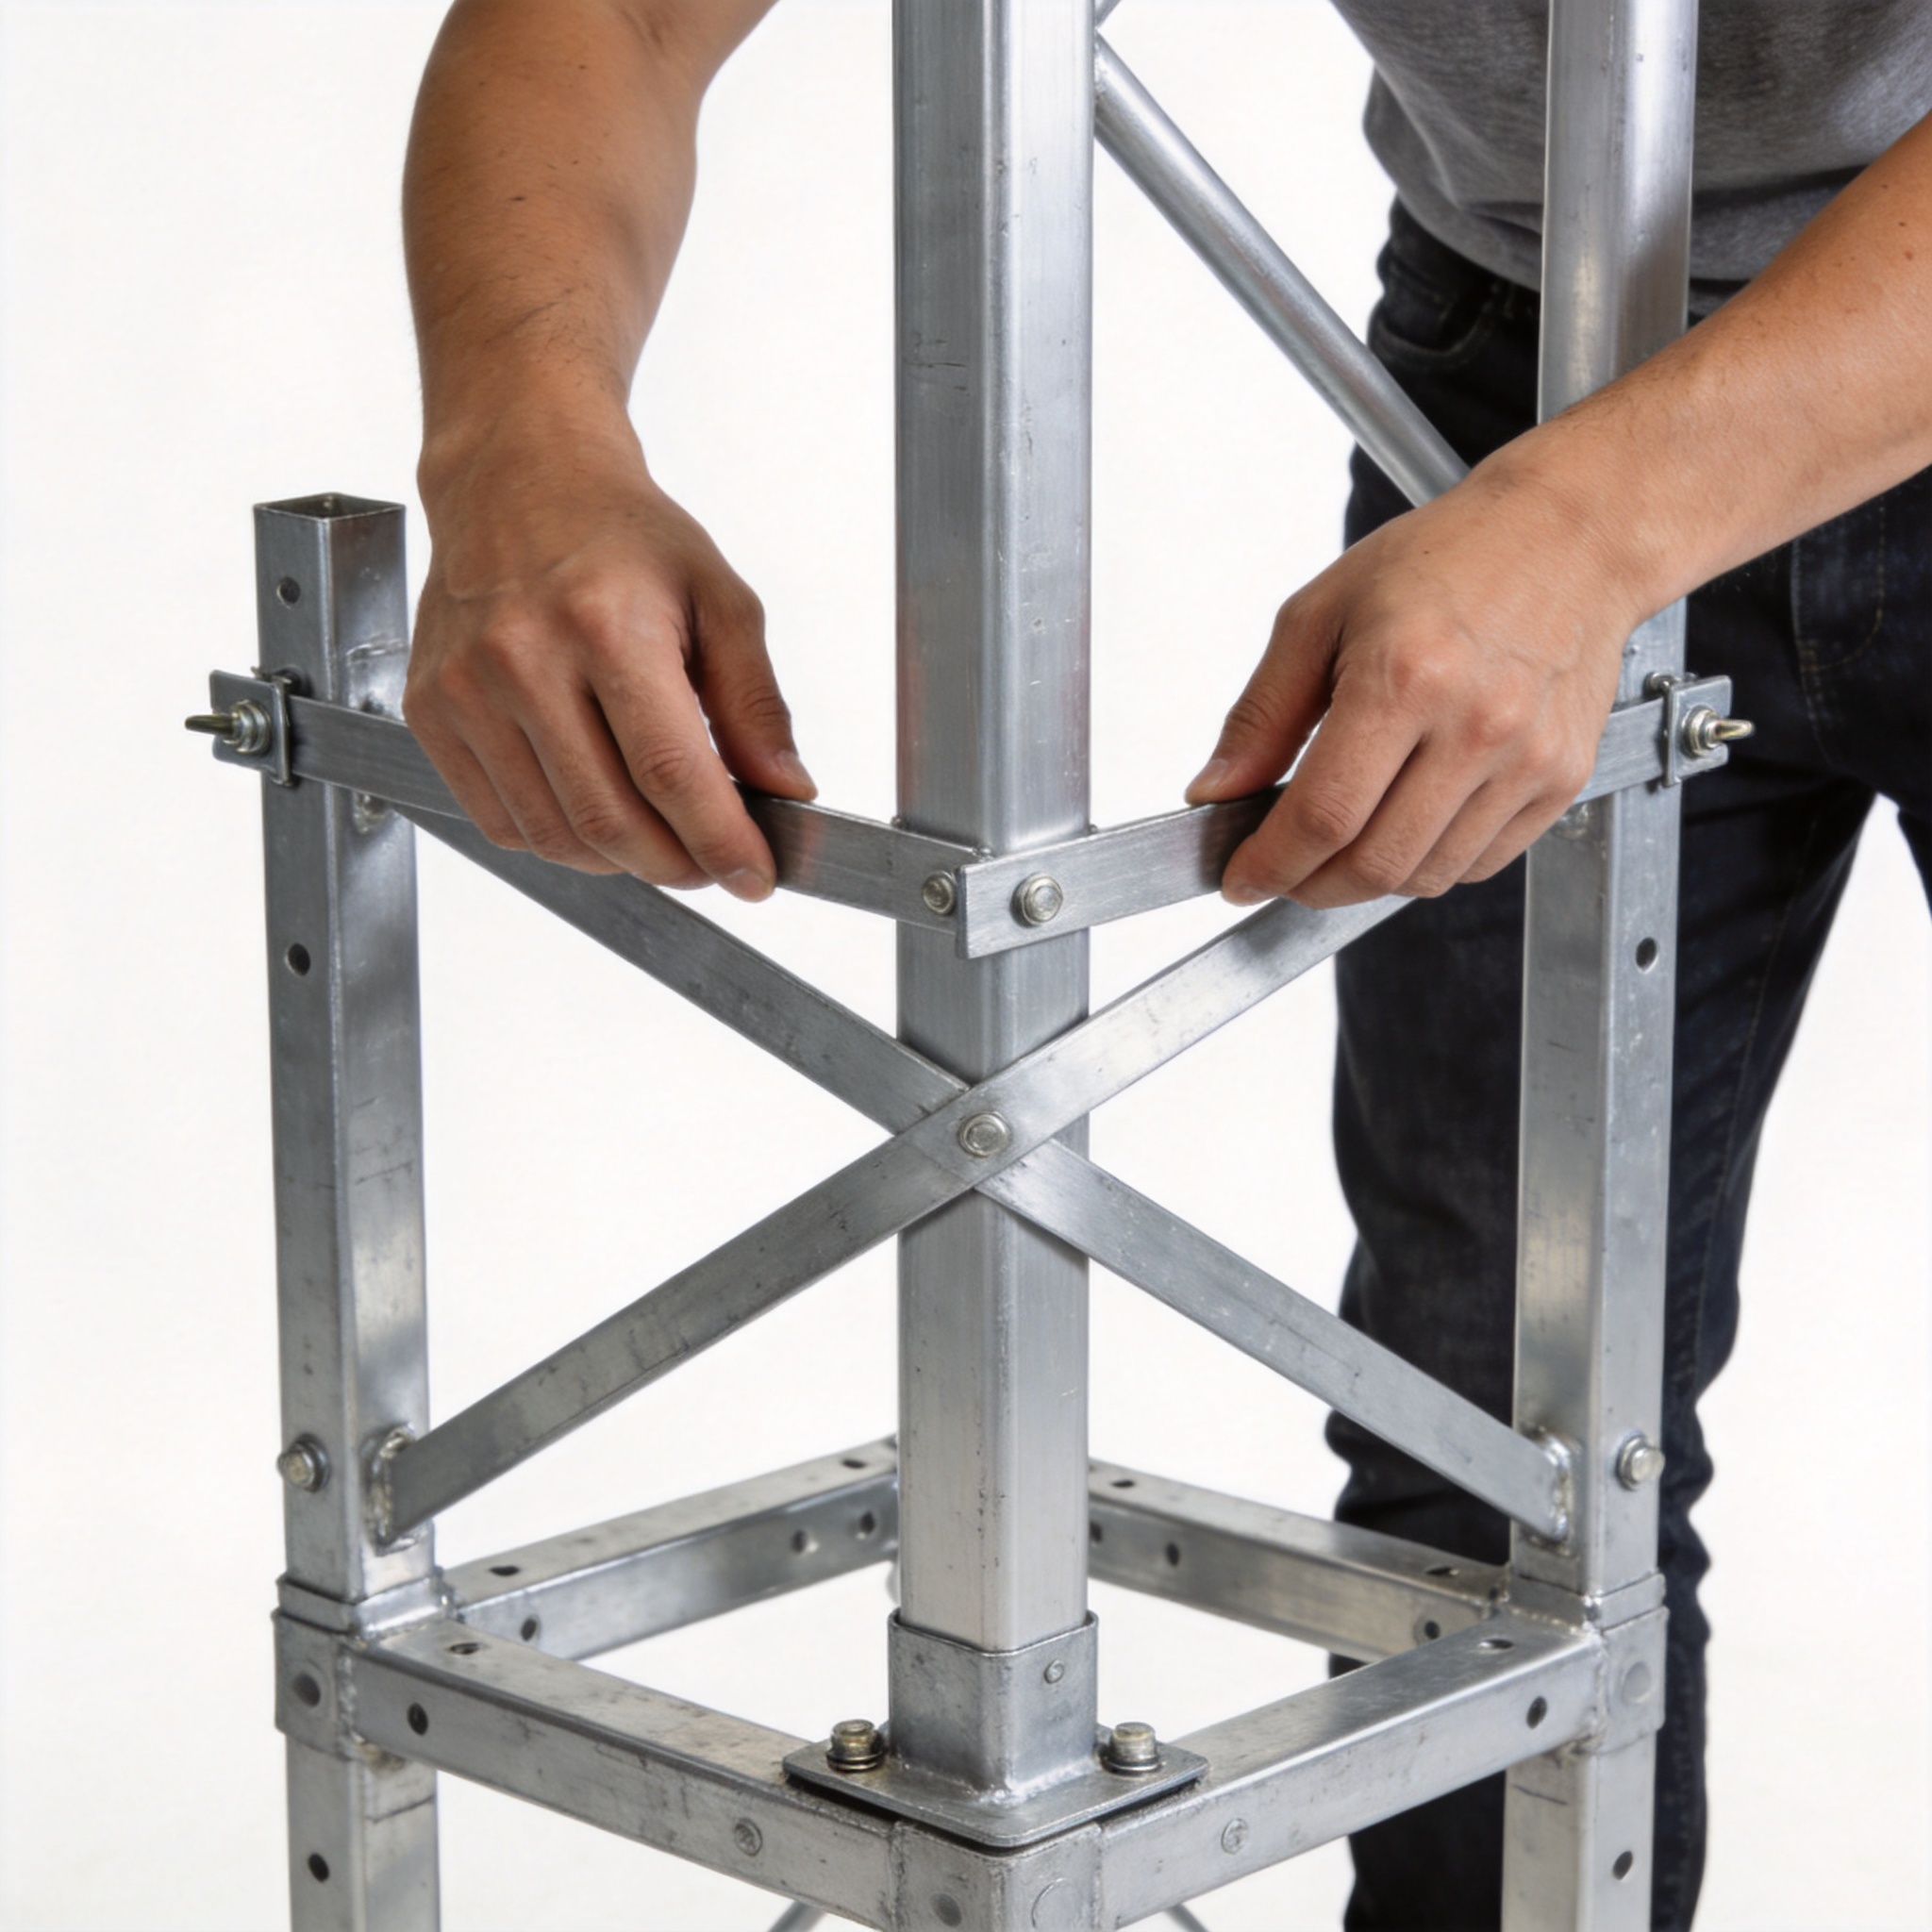
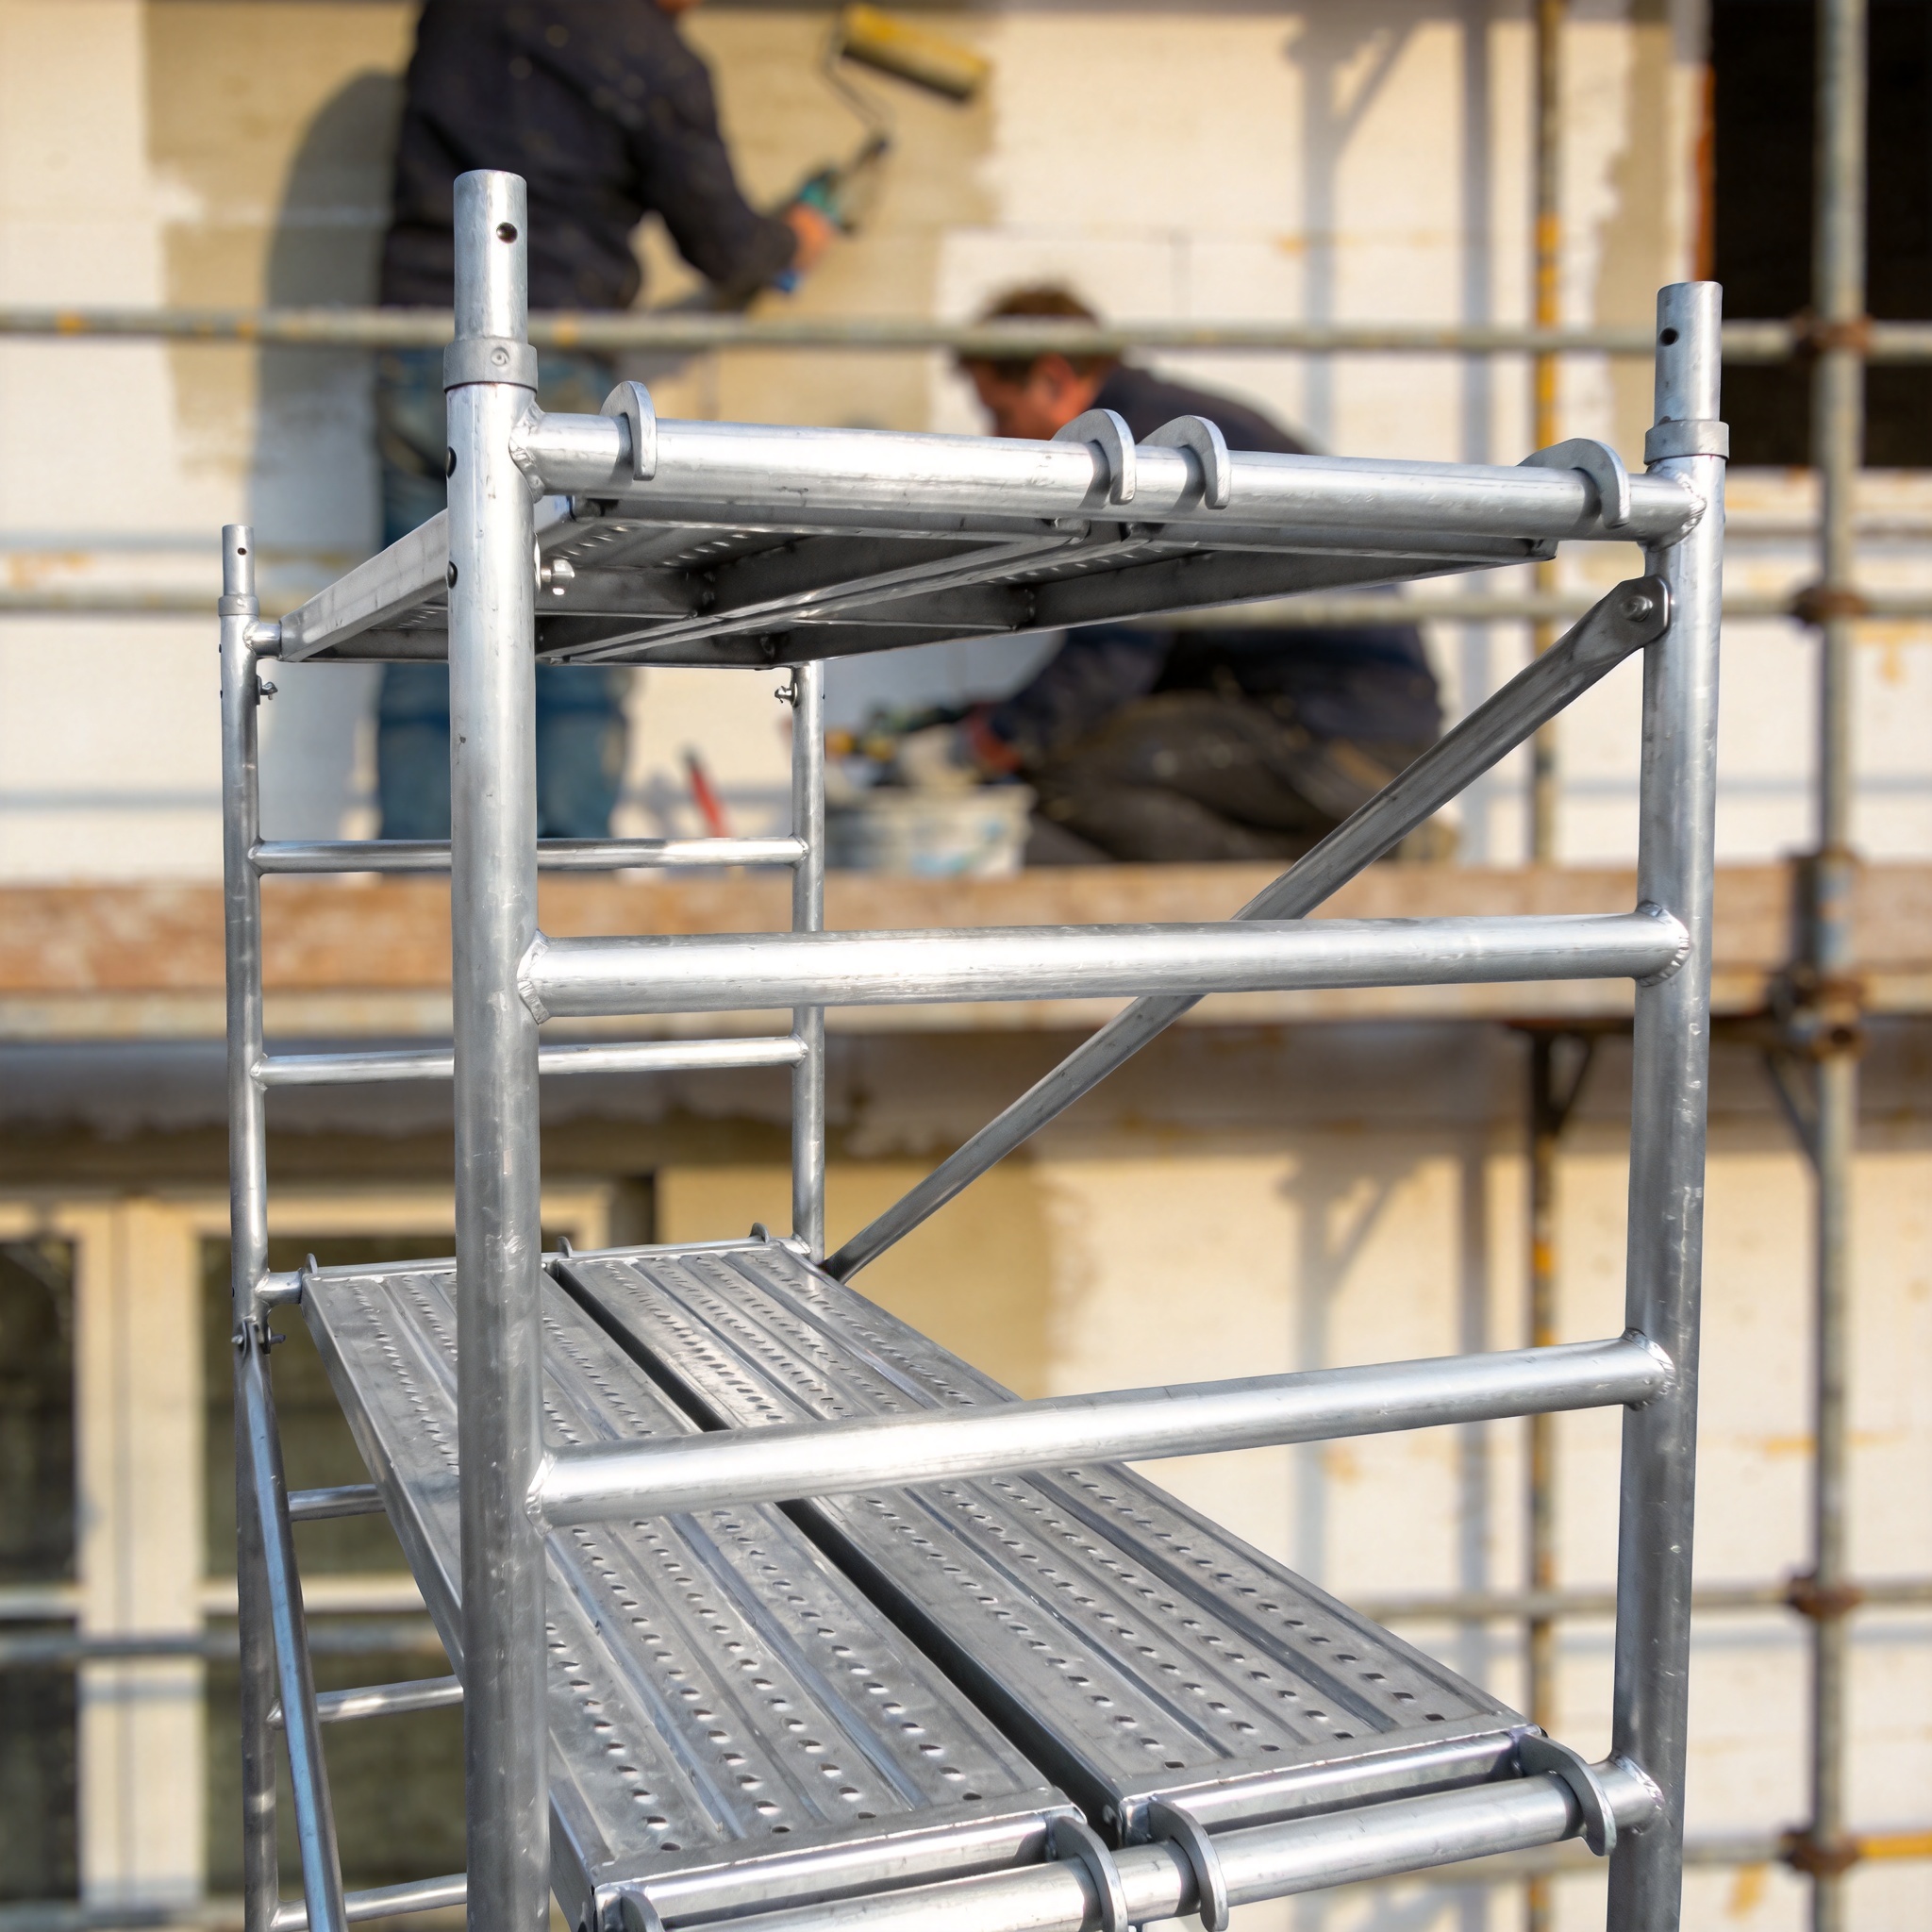
With the base level, you now lift the first vertical frame and attach it to the base jacks. Aluminum frames are usually light enough for one person to lift, but I always have a second person stabilize the bottom while the top is secured. Once the first frame is upright, hook the second frame into the base jacks on the opposite side. Immediately install the cross braces on the lower level to prevent the “A-frame” collapse.
When adding the second level, the process repeats: you climb the scaffold (using a ladder, not the frames) and lift the next frame section. Never climb the cross braces¡ªthey are not designed for climbing and will bend. The locking pins on aluminum frames must be fully engaged; you should hear a distinct “click” or see the pin pass completely through the hole. I have seen pins that appear secure but are only resting on the lip of the hole, which is a major safety hazard. For a more robust setup, you might consider a galvanized H frame scaffolding system that offers similar assembly steps but with added corrosion resistance for outdoor use.
I recommend using a rope or hoist to lift the second-level frames from the ground. Throwing them up can damage the aluminum and misalign the locking mechanisms. In my field tests, a two-person team can erect a 10-foot-tall, 2-section scaffold in about 15 minutes using this method.
Step 3: Installing the Platform and Access Ladder
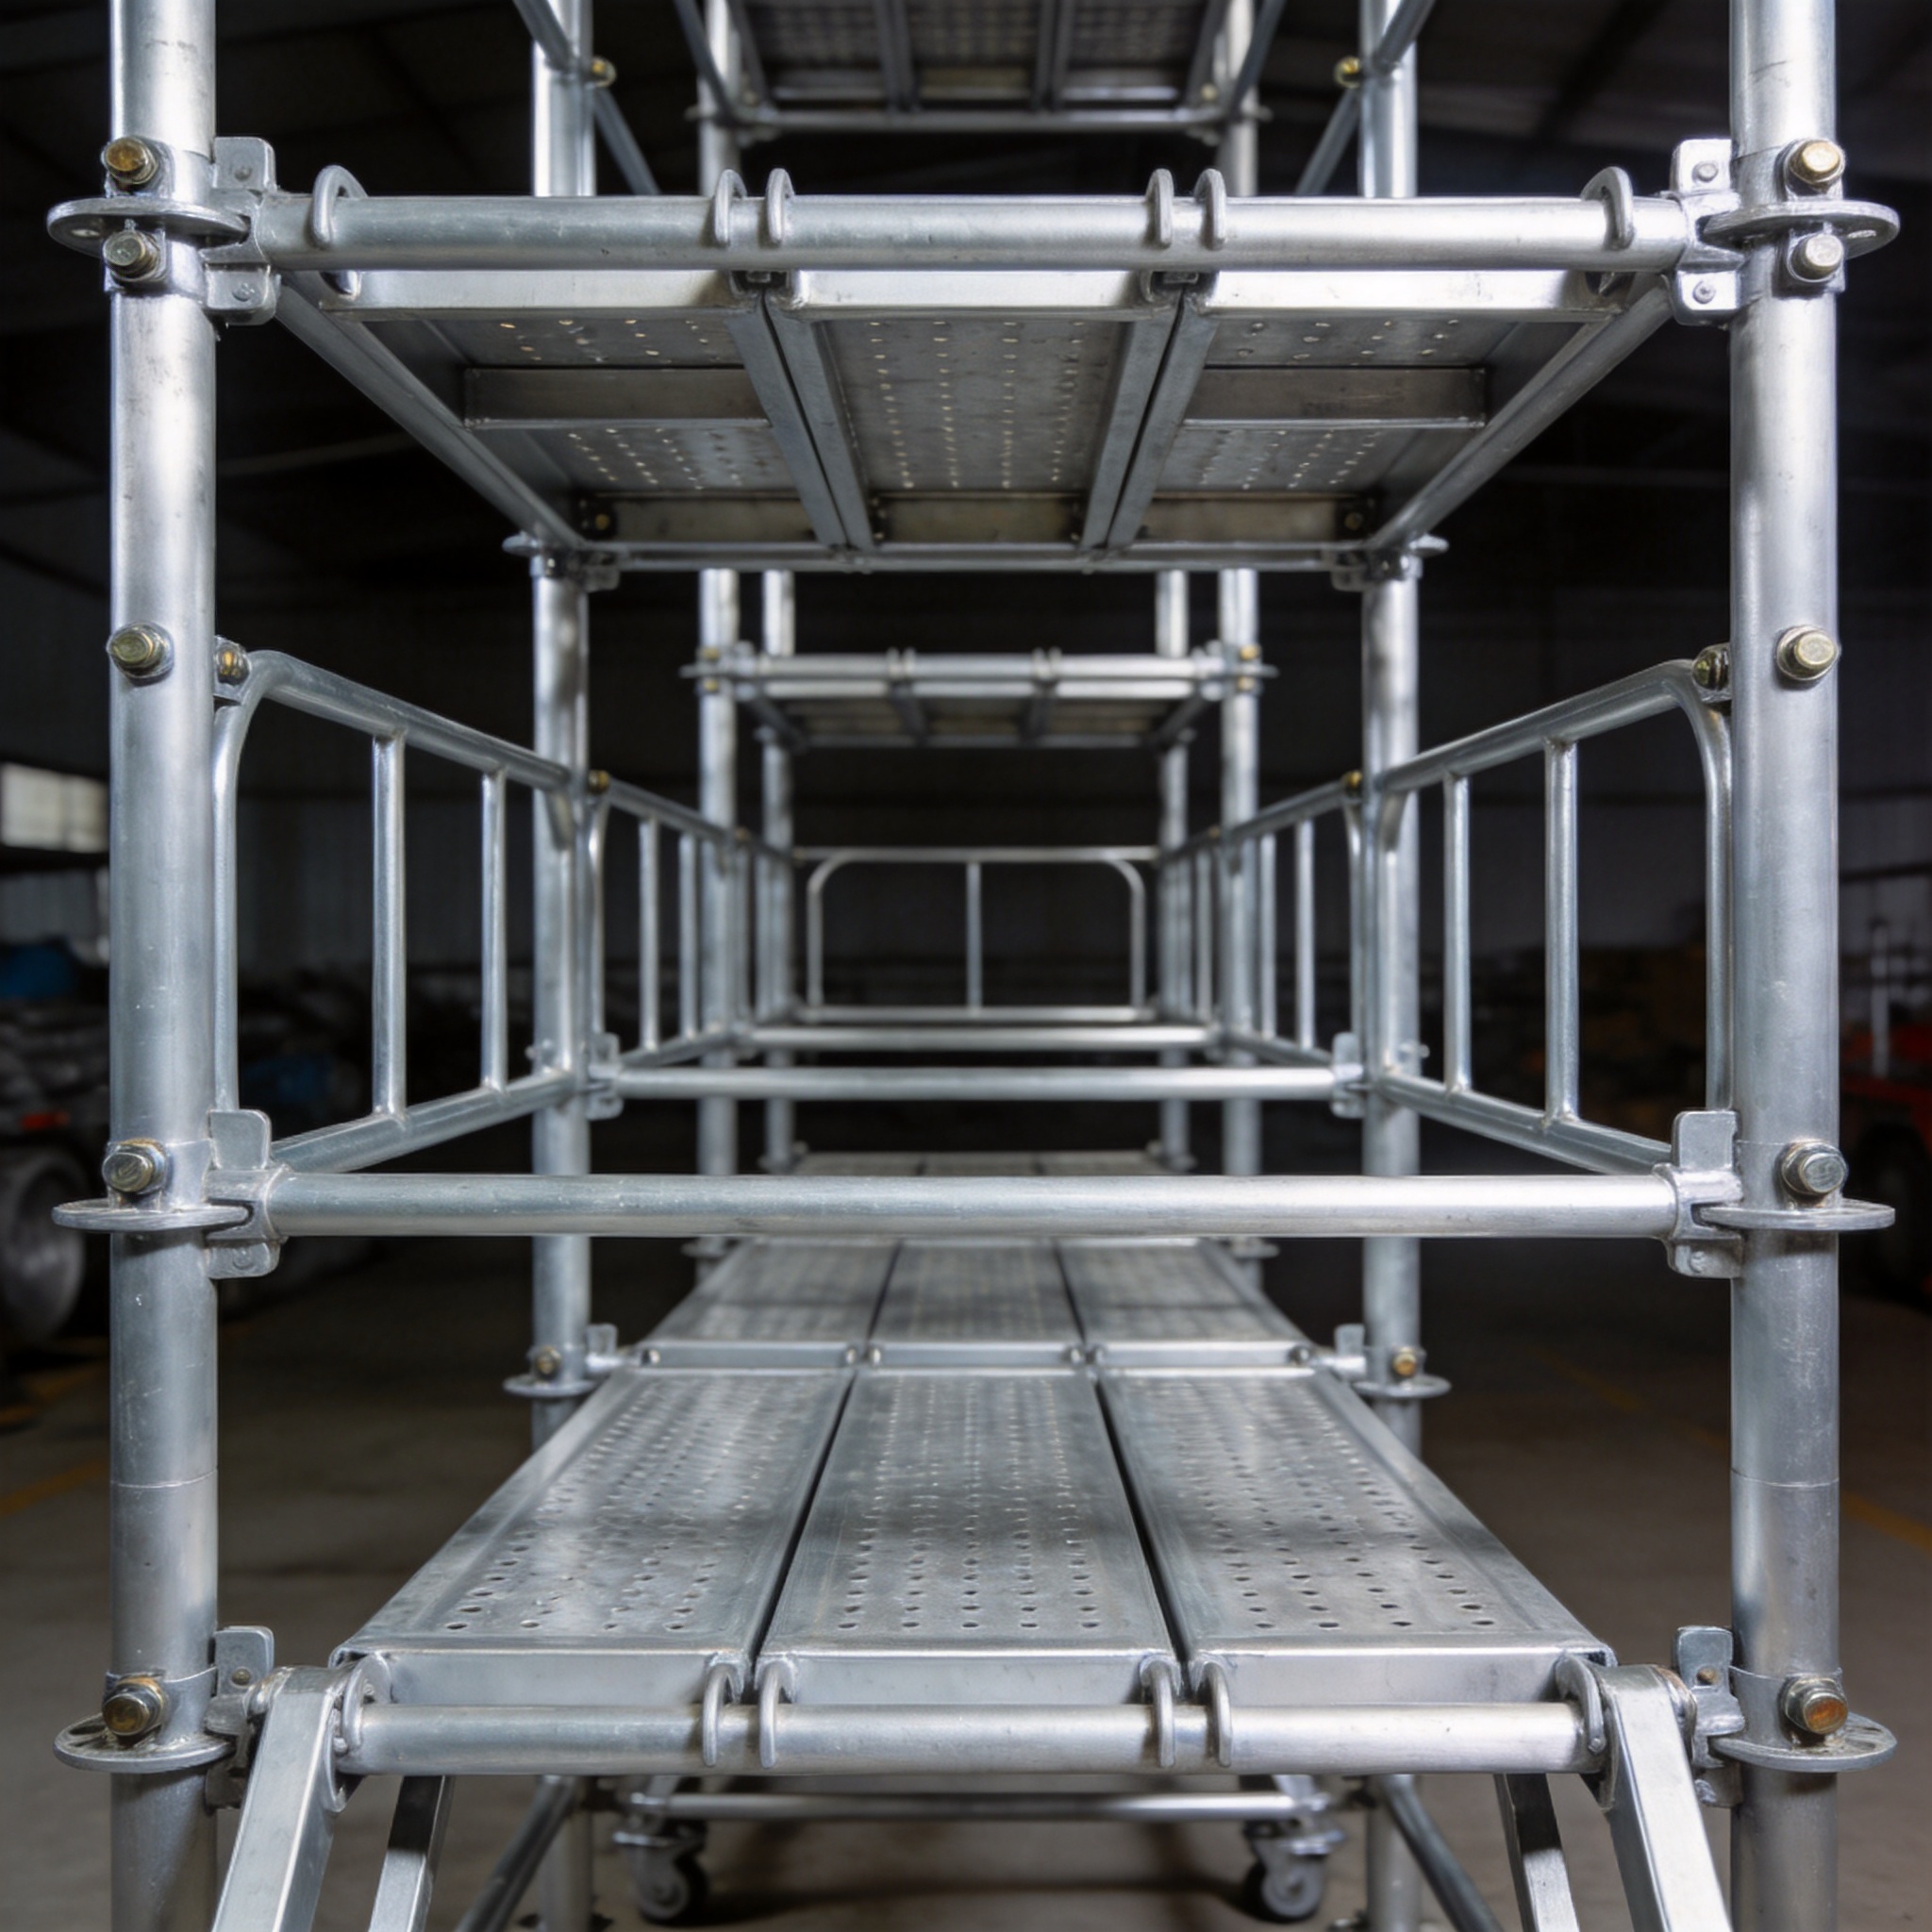
The platform is your working surface, and it must be fully planked. For aluminum scaffolds, the platform is usually an integrated aluminum deck or a plywood plank rated for scaffold use. OSHA requires that the platform be at least 18 inches wide. I always ensure the platform overhangs its support by at least 6 inches but no more than 12 inches to prevent it from tipping if weight shifts to one end. If you need a durable and lightweight option, an aluminum plank for scaffolding is an excellent choice that meets all safety standards.
Install the access ladder or stair tower before you lock the platform into place. This is a sequence that many people get wrong. If you install the platform first, you may block the access point. The ladder must extend at least 3 feet above the platform surface to provide a safe handhold for stepping off. In my experience, the 3-foot extension is the most frequently violated rule on residential sites.
Once the ladder is hooked, set the platform onto the frame brackets. Ensure the locking hooks on the platform are engaged over the rungs. I usually test the platform by putting my full weight on the center and edges before allowing anyone else up. If there is any deflection or creaking, I check the frame alignment and the locking pins again. The platform must be secured against movement while work is being performed.
Step 4: Fitting Guardrails and Toe Boards
Guardrails are the final barrier between you and a fall. For any platform over 10 feet high, guardrails are mandatory. The top rail must withstand at least 200 pounds of force in any direction, and the height must be between 38 and 45 inches. The mid-rail must be installed halfway between the top rail and the platform surface. In my 16 years, I have seen the mid-rail omitted more than any other component, which is a serious violation because it allows workers to slip through the gap.
Install the guardrails from the ground or from a lower level before you step onto the high platform. This is a non-negotiable rule in my assembly steps. You should not be standing on the platform without guardrails to install them. Most aluminum scaffold systems have a “drop-in” guardrail that you can hook from the level below. If you cannot reach, use a taller base section instead of stretching.
Toe boards are the next critical element. These are 4-inch-high barriers installed around the platform edge to prevent tools and materials from falling onto workers below. According to OSHA, toe boards are required whenever there is a risk of falling objects. I also install a debris net or a canopy if working over a public walkway. Finally, check the gap between the guardrail and the platform¡ªit should be no more than 19.75 inches to prevent falls through the opening.
Final Inspection and Load Testing
After the guardrails are in place, I perform a 10-point inspection that I have refined over my career. First, I verify all locking pins are engaged. Second, I check that all cross braces are straight and undamaged. Third, I confirm the leveling jacks are tight against the ground. Fourth, I test the platform for lateral movement. Fifth, I check the ladder rungs for debris. Sixth, I ensure the toe boards are secure. Seventh, I verify the guardrail height with a tape measure. Eighth, I check the clearance from electrical lines. Ninth, I review the weight rating on the scaffold tags. Tenth, I sign the inspection tag and date it.
The load test is simple: I place 2.5 times the maximum intended load on the platform for 10 minutes and observe for deflection. For a standard light-duty scaffold (rated for 25 lbs/sq ft), this means placing sandbags or weights on the deck. If any component bends or the scaffold shifts, I dismantle and rebuild. The American National Standards Institute (ANSI) A10.8 standard provides the specific load ratings and testing protocols that I reference during this phase. For a complete and reliable system, a professional aluminum mobile scaffolding platform often comes with pre-tested components that simplify this inspection process.
Do not allow workers on the scaffold until this inspection is complete. In my experience, a proper inspection takes about 10 minutes but can save you from a catastrophic collapse. Always consult the manufacturer’s manual for your specific aluminum scaffold model, as connection types vary. For further reading on safety standards, refer to the OSHA 1926.451 regulations and the ASSP (ANSI) standards.
